 Jenkins+argocd+argo rollouts实现金丝雀发布
本文主要介绍使用 Jenkins 配合 argocd 以及 argo rollouts 实现 CI/CD。其中 jenkins 配合 argocd 做 CI/CD 前面已经介绍过了,这里不再赘述,不懂的地方可以移步《使用 Jenkins 和 Argocd 实现 CI/CD》。
本篇文章新增了如下几个功能:
- 优化 argocd 的触发 CD 的速度
- 使用 argo rollouts 进行金丝雀发布
- 给代码仓库打 tag
# 优化 Argocd 触发 CD 的速度
Argo CD 每三分钟轮询一次 Git 存储库,以检测清单的变化。为了消除轮询带来的延迟,可以将 API 服务器配置为接收 Webhook 事件。Argo CD 支持来自 GitHub,GitLab,Bitbucket,Bitbucket Server 和 Gogs 的 Git Webhook 通知,更多点击官网 (opens new window)。
我这里使用 Gitlab 作为仓库地址。
(1)在 argocd 中配置 webhook token
使用kubectl edit secret argocd-secret -n argocd命令进行配置:
apiVersion: v1
kind: Secret
metadata:
  name: argocd-secret
  namespace: argocd
type: Opaque
data:
---
stringData:
  # gitlab webhook secret
  webhook.gitlab.secret: coolops
2
3
4
5
6
7
8
9
10
11
配置完点击保存会自动生成一个 secret,如下:
# kubectl describe secret argocd-secret -n argocd
Name:         argocd-secret
Namespace:    argocd
Labels:       app.kubernetes.io/name=argocd-secret
              app.kubernetes.io/part-of=argocd
Annotations:
Type:         Opaque

Data
====
admin.passwordMtime:    20 bytes
server.secretkey:       44 bytes
tls.crt:                1237 bytes
tls.key:                1679 bytes
webhook.gitlab.secret:  7 bytes
admin.password:         60 bytes
2
3
4
5
6
7
8
9
10
11
12
13
14
15
16
(2)在 gitlab 的代码仓库配置 webhook,如下:
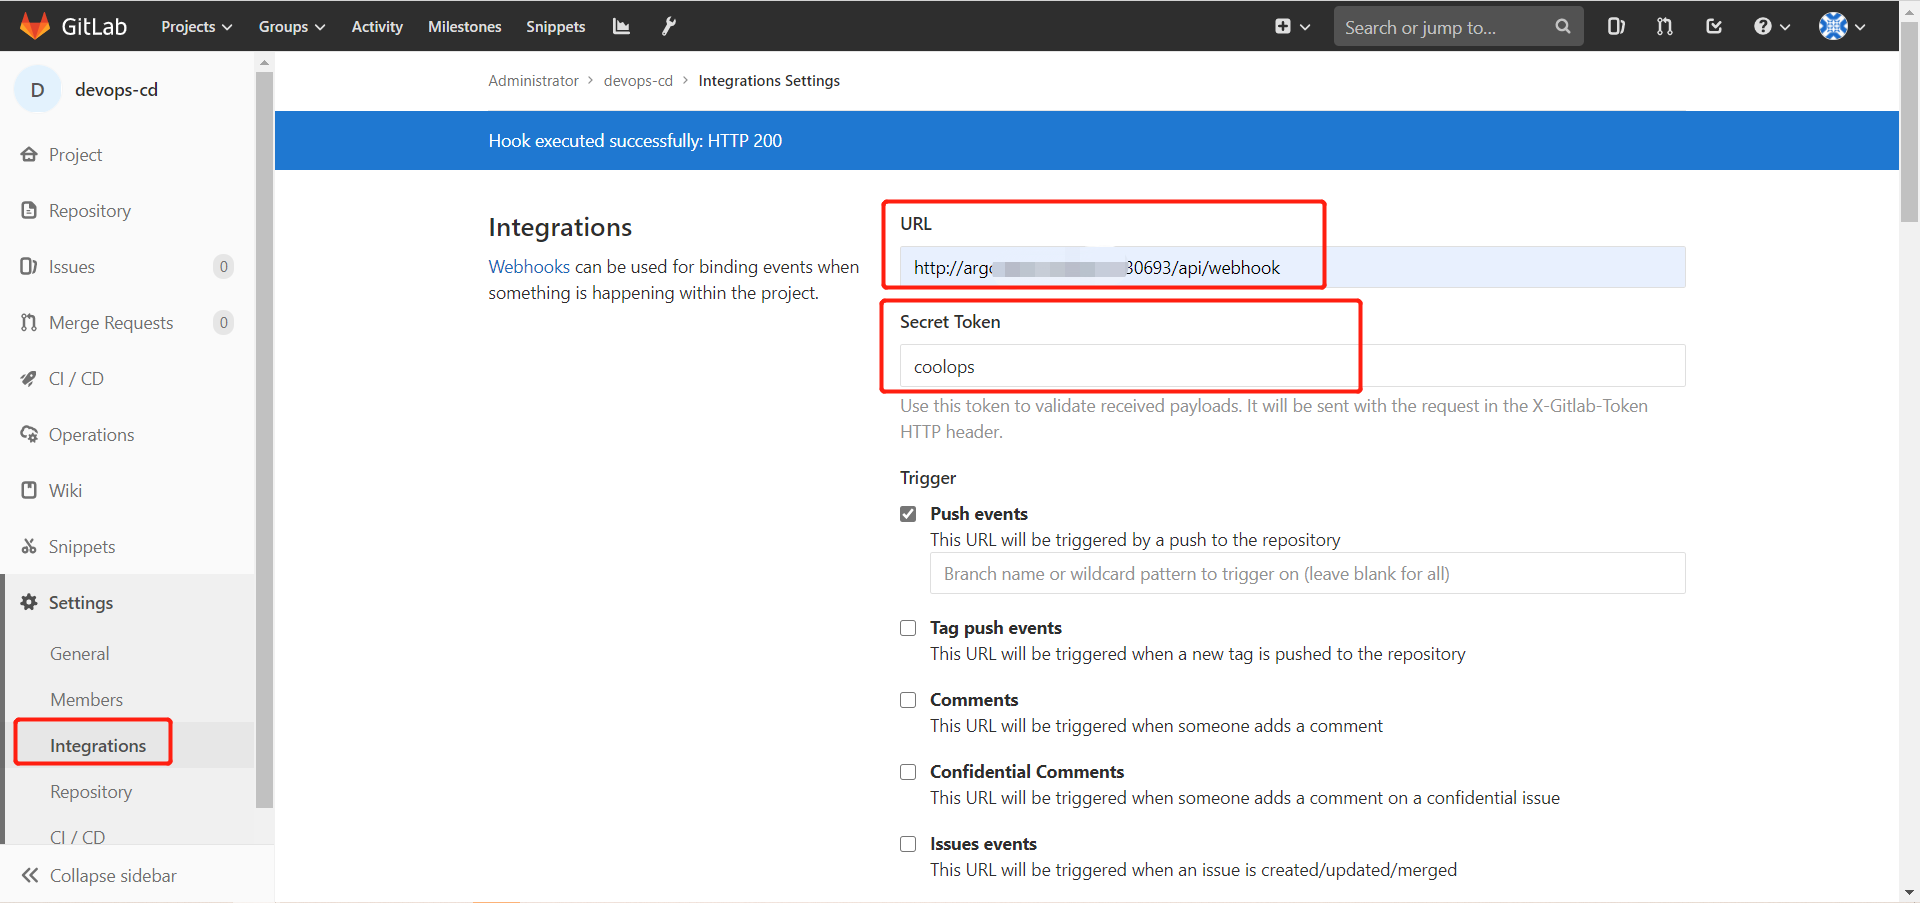
由于集群内部证书是无效证书,所有要把 Enabled SSL 去掉,如下:
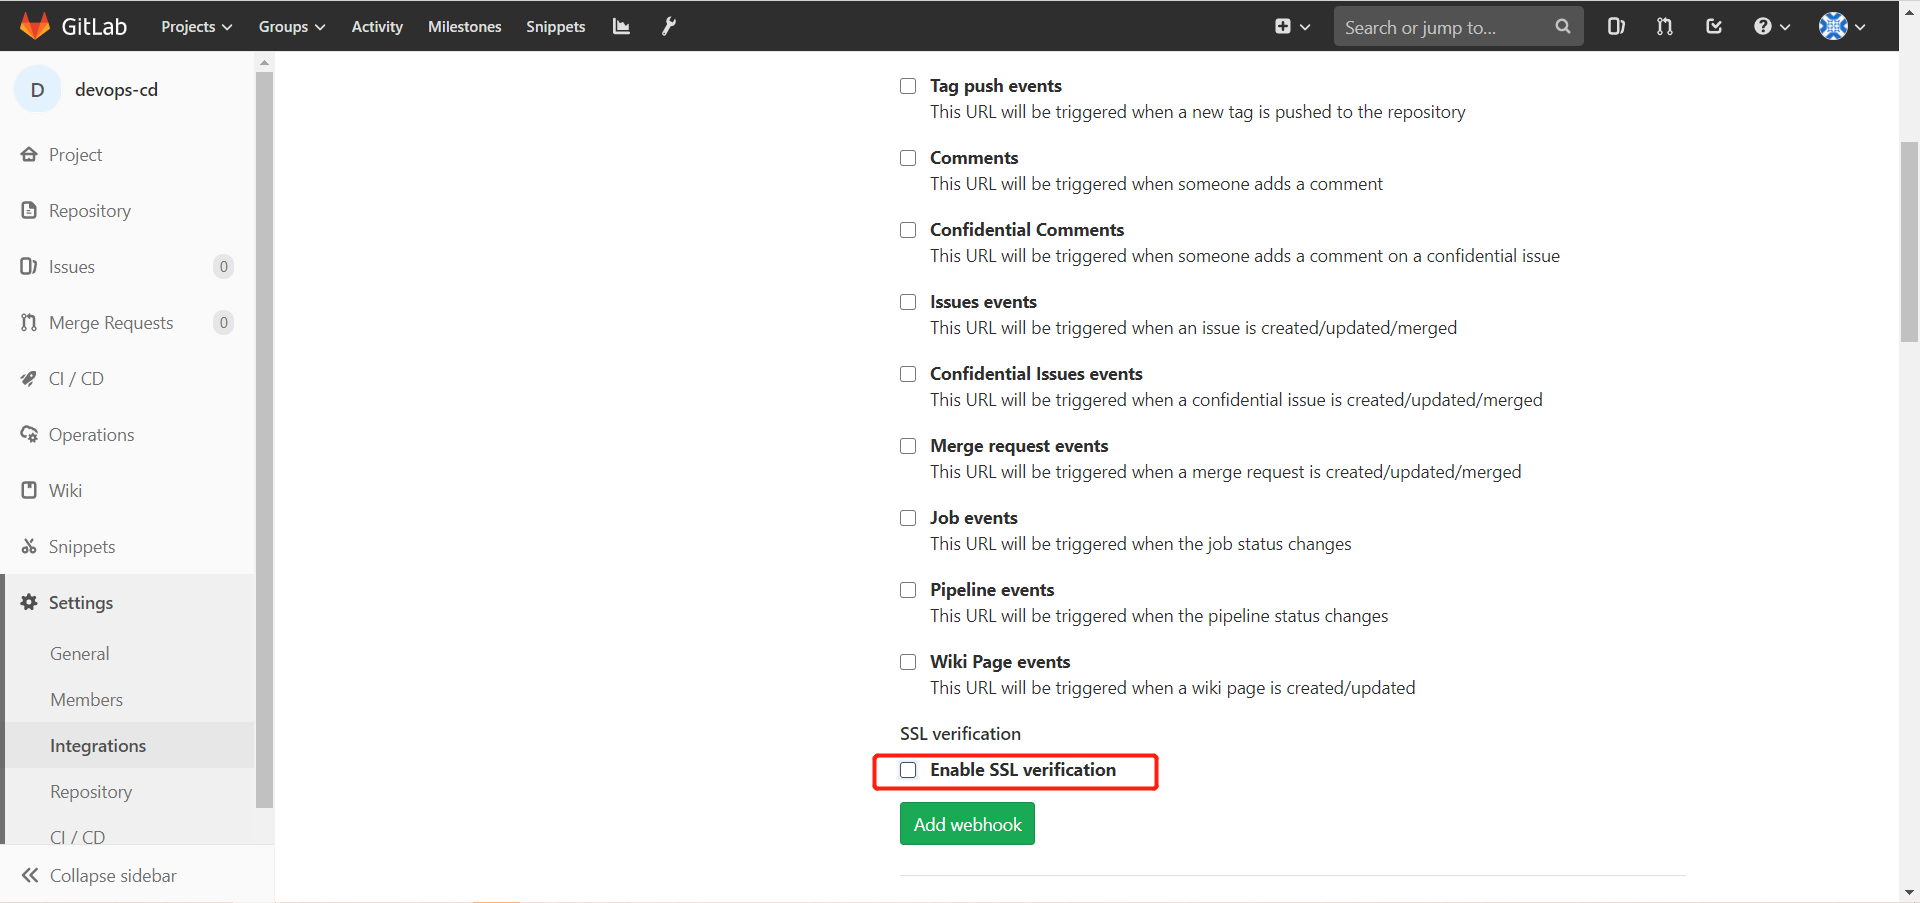
然后点击保存,点击测试,看是否链接成功。如果有如下提示则表示 webhook 配置没问题了。
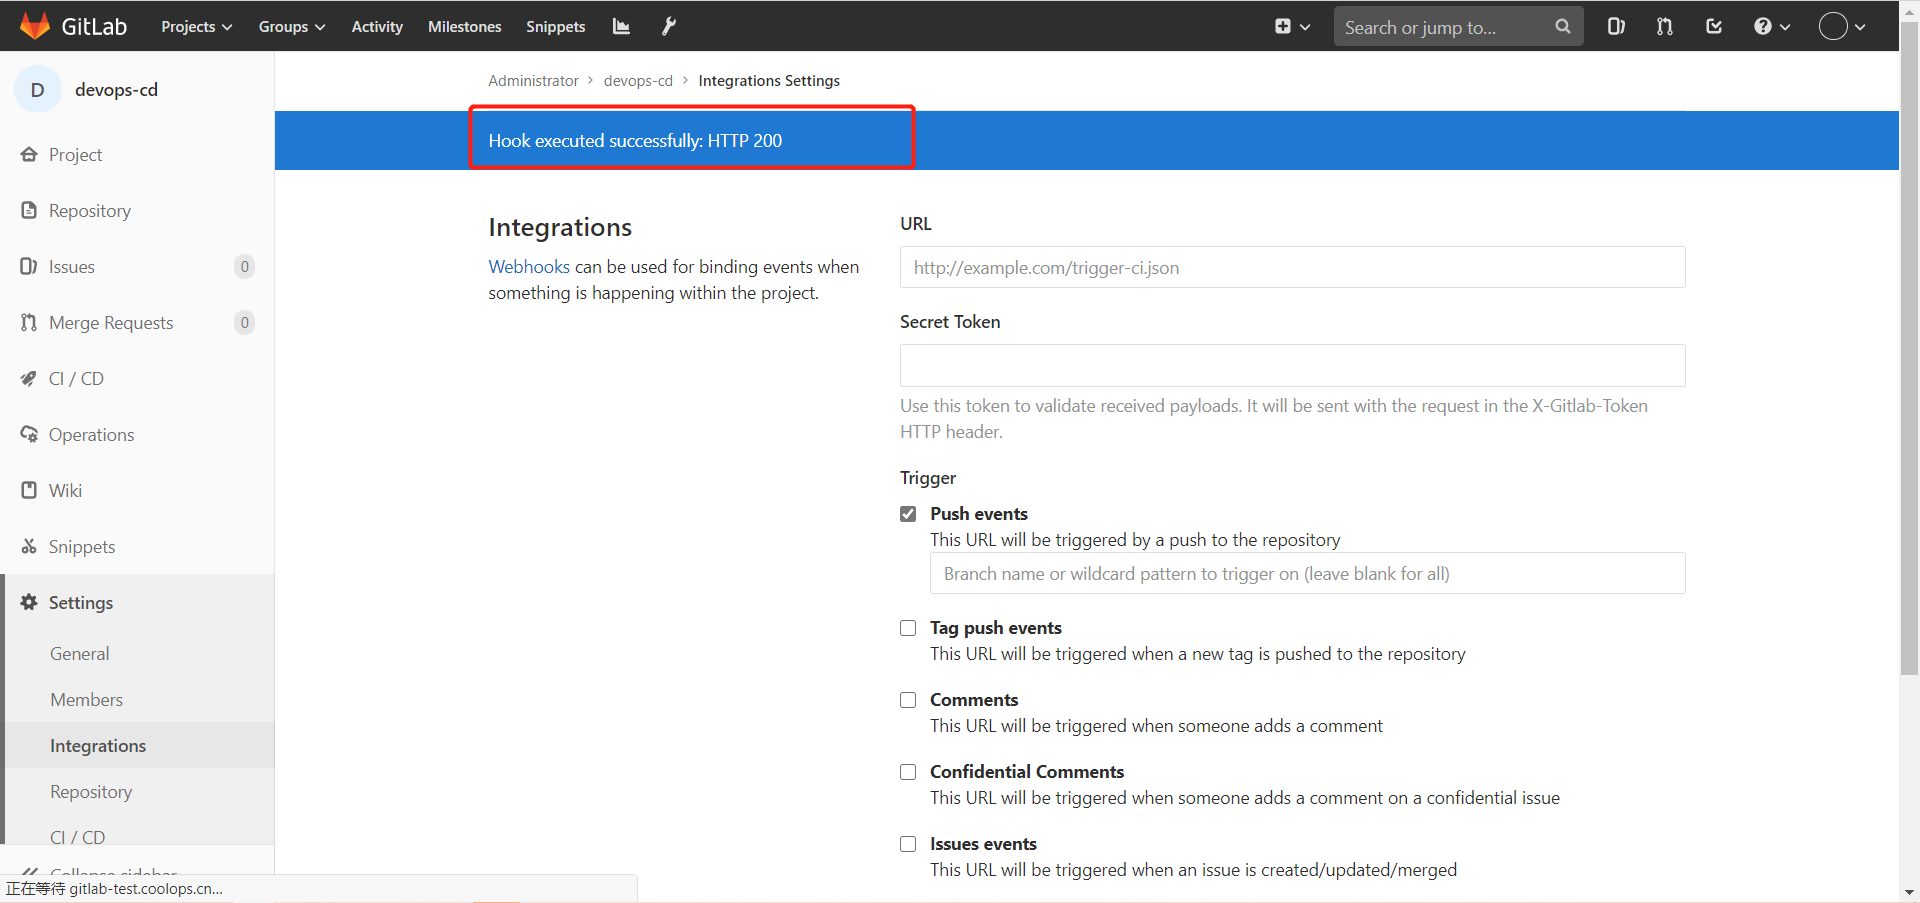
现在可以进行修改 gitlab 仓库,观察是否一提交,argocd 那边就可以响应了。
# 使用 argo rollouts 进行金丝雀发布
关于 argo rollouts 的更多介绍可以查看之前的文章《使用 argo-rollouts 实现金丝雀发布》。
按着官方文档进行安装,官方地址为:https://argoproj.github.io/argo-rollouts/installation/#kubectl-plugin-installation (opens new window)
(1)在 Kubernetes 集群中安装 argo-rollouts
kubectl create namespace argo-rollouts
kubectl apply -n argo-rollouts -f https://raw.githubusercontent.com/argoproj/argo-rollouts/stable/manifests/install.yaml
2
(2)安装 argo-rollouts 的 kubectl plugin
curl -LO https://github.com/argoproj/argo-rollouts/releases/latest/download/kubectl-argo-rollouts-linux-amd64
chmod +x ./kubectl-argo-rollouts-linux-amd64
mv ./kubectl-argo-rollouts-linux-amd64 /usr/local/bin/kubectl-argo-rollouts
2
3
(3)我们这里主要是要重写 deployment 的配置文件,主要的配置清单如下。
rollout.yaml
apiVersion: argoproj.io/v1alpha1
kind: Rollout
metadata:
  name: rollouts-simple-java
spec:
  replicas: 3
  strategy:
    canary:
      canaryService: rollouts-simple-java-canary
      stableService: rollouts-simple-java-stable
      trafficRouting:
        nginx:
          stableIngress: rollouts-simple-java-stable
      steps:
        - setWeight: 20
        - pause: { duration: 60 }
        - setWeight: 50
        - pause: { duration: 10 }
        - setWeight: 80
        - pause: { duration: 10 }
  revisionHistoryLimit: 2
  selector:
    matchLabels:
      app: rollouts-simple-java
  template:
    metadata:
      labels:
        app: rollouts-simple-java
    spec:
      containers:
        - args:
            - -jar
            - /opt/myapp.jar
            - --server.port=8080
          command:
            - java
          env:
            - name: HOST_IP
              valueFrom:
                fieldRef:
                  apiVersion: v1
                  fieldPath: status.hostIP
          image: registry.cn-hangzhou.aliyuncs.com/rookieops/myapp:latest
          imagePullPolicy: IfNotPresent
          lifecycle:
            preStop:
              exec:
                command:
                  - /bin/sh
                  - -c
                  - /bin/sleep 30
          livenessProbe:
            failureThreshold: 3
            httpGet:
              path: /hello
              port: 8080
              scheme: HTTP
            initialDelaySeconds: 60
            periodSeconds: 15
            successThreshold: 1
            timeoutSeconds: 1
          name: myapp
          ports:
            - containerPort: 8080
              name: http
              protocol: TCP
          readinessProbe:
            failureThreshold: 3
            httpGet:
              path: /hello
              port: 8080
              scheme: HTTP
            periodSeconds: 15
            successThreshold: 1
            timeoutSeconds: 1
          resources:
            limits:
              cpu: "1"
              memory: 2Gi
            requests:
              cpu: 100m
              memory: 1Gi
          terminationMessagePath: /dev/termination-log
          terminationMessagePolicy: File
      dnsPolicy: ClusterFirstWithHostNet
      imagePullSecrets:
        - name: gitlab-registry
2
3
4
5
6
7
8
9
10
11
12
13
14
15
16
17
18
19
20
21
22
23
24
25
26
27
28
29
30
31
32
33
34
35
36
37
38
39
40
41
42
43
44
45
46
47
48
49
50
51
52
53
54
55
56
57
58
59
60
61
62
63
64
65
66
67
68
69
70
71
72
73
74
75
76
77
78
79
80
81
82
83
84
85
86
87
services.yaml
apiVersion: v1
kind: Service
metadata:
  name: rollouts-simple-java-canary
spec:
  ports:
    - port: 8080
      targetPort: http
      protocol: TCP
      name: http
  selector:
    app: rollouts-simple-java
    # This selector will be updated with the pod-template-hash of the canary ReplicaSet. e.g.:
    # rollouts-pod-template-hash: 7bf84f9696

---
apiVersion: v1
kind: Service
metadata:
  name: rollouts-simple-java-stable
spec:
  ports:
    - port: 8080
      targetPort: http
      protocol: TCP
      name: http
  selector:
    app: rollouts-simple-java
    # This selector will be updated with the pod-template-hash of the stable ReplicaSet. e.g.:
    # rollouts-pod-template-hash: 789746c88d
2
3
4
5
6
7
8
9
10
11
12
13
14
15
16
17
18
19
20
21
22
23
24
25
26
27
28
29
30
ingress.yaml
apiVersion: networking.k8s.io/v1beta1
kind: Ingress
metadata:
  name: rollouts-simple-java-stable
  annotations:
    kubernetes.io/ingress.class: nginx
spec:
  rules:
    - host: rollouts-simple-java.coolops.cn
      http:
        paths:
          - path: /
            backend:
              # Reference to a Service name, also specified in the Rollout spec.strategy.canary.stableService field
              serviceName: rollouts-simple-java-stable
              servicePort: 8080
2
3
4
5
6
7
8
9
10
11
12
13
14
15
16
kustomization.yaml
# Example configuration for the webserver
# at https://github.com/monopole/hello
commonLabels:
  app: rollouts-simple-java

resources:
  - rollout.yaml
  - services.yaml
  - ingress.yaml
apiVersion: kustomize.config.k8s.io/v1beta1
kind: Kustomization
images:
  - name: registry.cn-hangzhou.aliyuncs.com/rookieops/myapp
    newTag: "latest"
namespace: dev
2
3
4
5
6
7
8
9
10
11
12
13
14
15
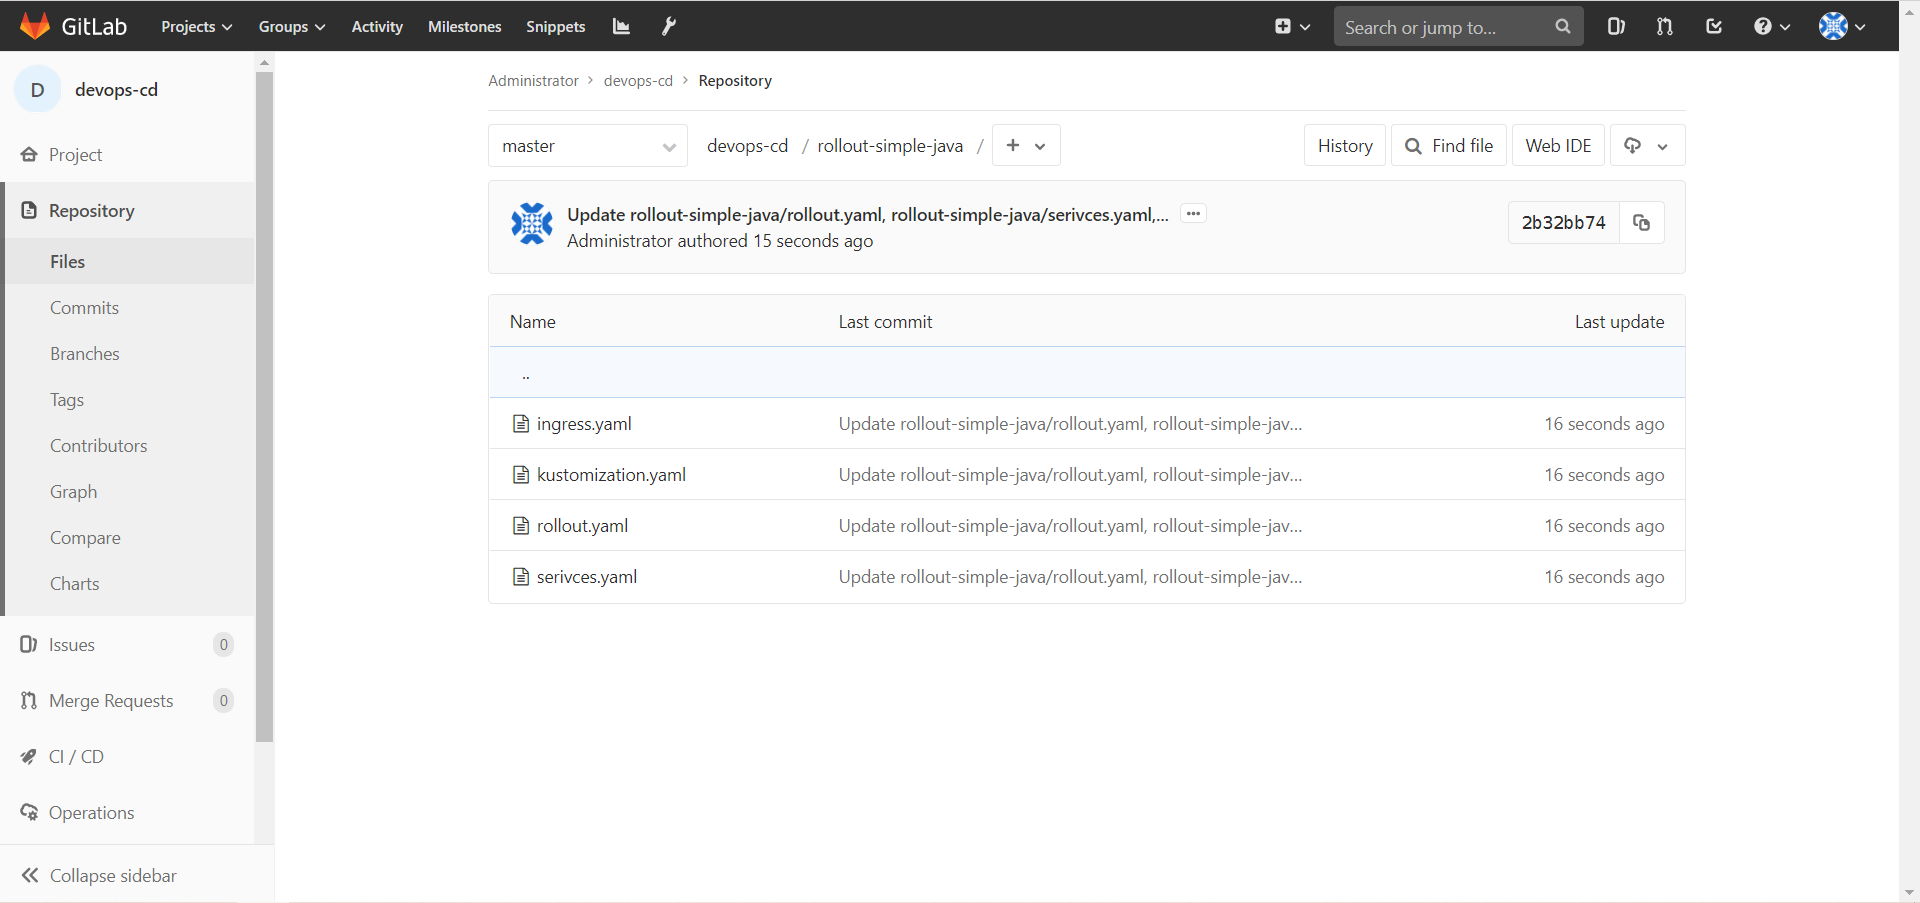
让后将这些文件保存到 gitlab yaml 仓库里,比如:
这里的金丝雀发布是才有的时间暂停的方式,还可以才有手动继续的方式。我这里方便测试就才有了时间暂停。
# 给代码仓库打 Tag
为啥要给代码仓库打 Tag 呢?
当一个代码仓库进过长时间的迭代,针对不同的时期和需求,必定会有不同的版本。而借助 Git 提供的标签功能,可以快捷方便地记录代码版本。无论什么时候,想取回某个版本,不再需要查找冗长的commit_id,只需要取出打标签的历史版本即可。
可以这么理解:标签是版本库的一个快照。在主流的 Git 平台上,版本可以直接下载的,节省了开发者的不少精力。
这里通过 gitlab 的 api 对代码仓库打 tag。API 的具体操作见https://docs.gitlab.com/ee/api/tags.html (opens new window)
这里在 shareLibrary 的代码仓库中创建了 gitlab.groovy 文件。
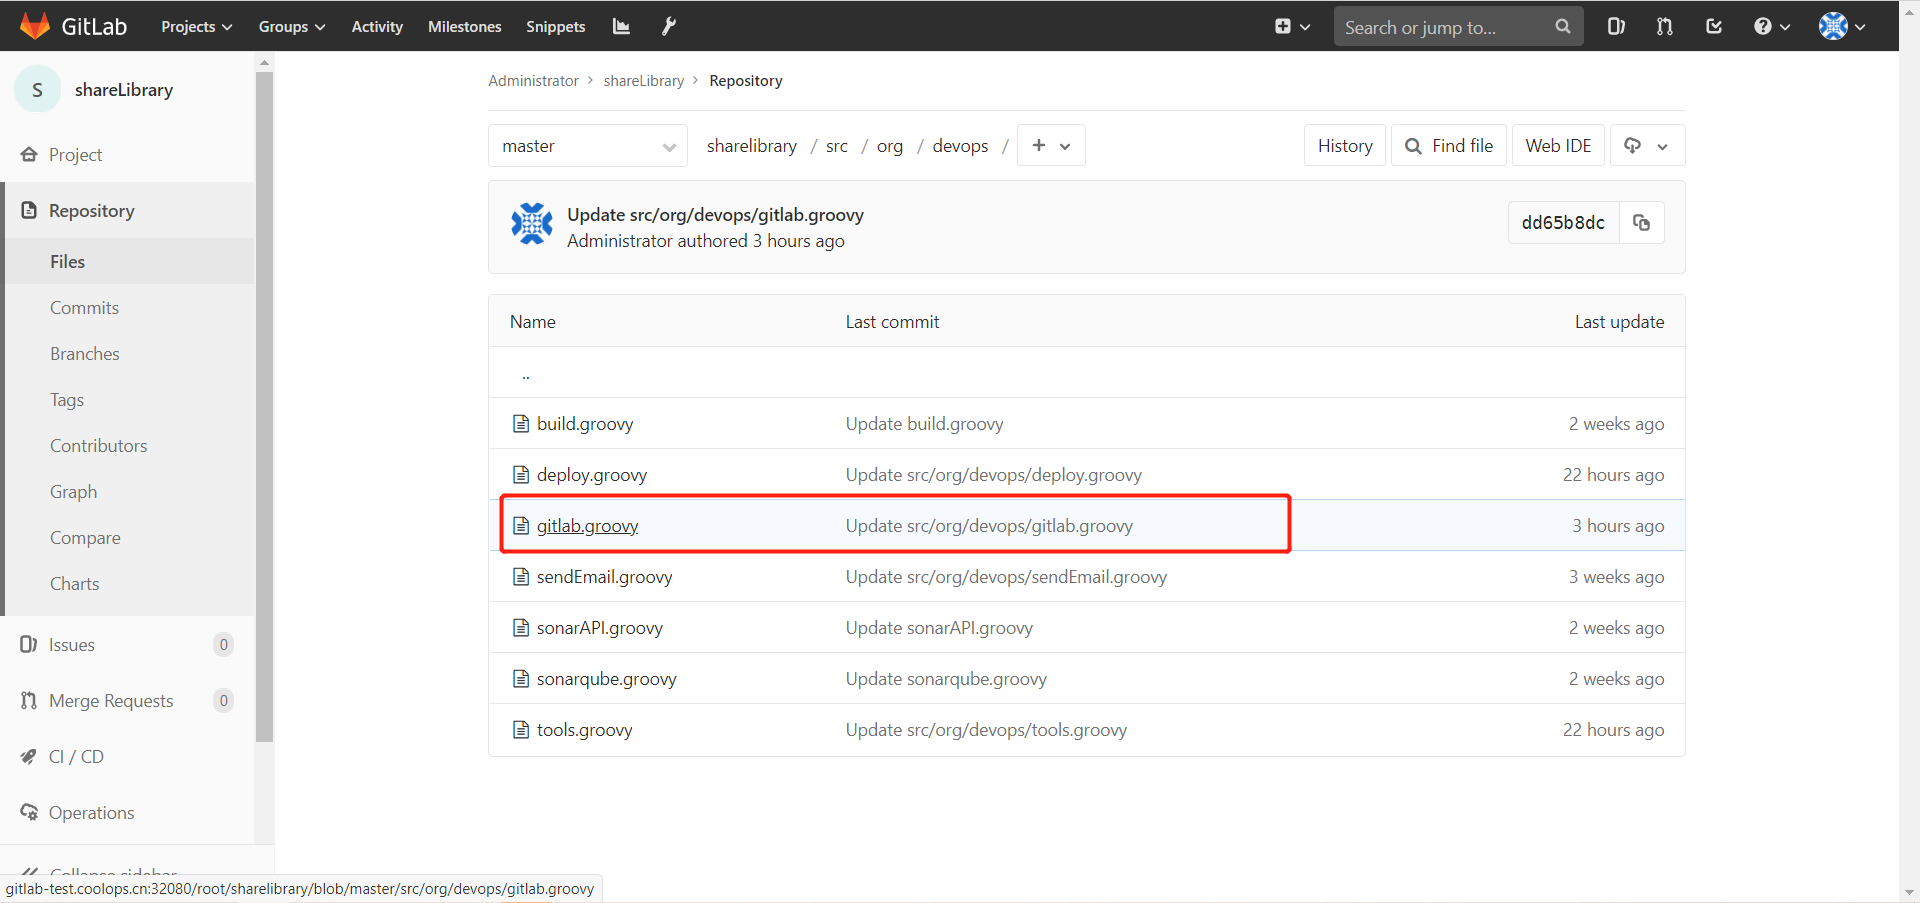
具体内容如下:
package org.devops

//封装HTTP请求
def HttpReq(reqType,reqUrl,reqBody){
    def gitServer = "http://172.17.100.135:32080/api/v4"
    withCredentials([string(credentialsId: 'gitlab-token', variable: 'gitlabToken')]) {
      result = httpRequest customHeaders: [[maskValue: true, name: 'PRIVATE-TOKEN', value: "${gitlabToken}"]],
                httpMode: reqType,
                contentType: "APPLICATION_JSON",
                consoleLogResponseBody: true,
                ignoreSslErrors: true,
                requestBody: reqBody,
                url: "${gitServer}/${reqUrl}"
                //quiet: true
    }
    return result
}

//获取项目ID
def GetProjectID(projectName){
    projectApi = "projects?search=${projectName}"
    response = HttpReq('GET',projectApi,'')
    def result = readJSON text: """${response.content}"""

    for (repo in result){
       // println(repo['path_with_namespace'])
        if (repo['path'] == "${projectName}"){

            repoId = repo['id']
            println(repoId)
        }
    }
    return repoId
}


// 给仓库打tag
def TagGitlab(projectId,tag_name,tag_ref){
    def apiUrl = "projects/${projectId}/repository/tags"
    reqBody = """{"tag_name": "${tag_name}","ref": "${tag_ref}"}"""
    HttpReq('POST',apiUrl,reqBody)
}
2
3
4
5
6
7
8
9
10
11
12
13
14
15
16
17
18
19
20
21
22
23
24
25
26
27
28
29
30
31
32
33
34
35
36
37
38
39
40
41
42
首先通过GetProjectID获取到项目仓库的 ID,然后再调用TagGitlab进行打 Tag。
然后我们需要在 Jenkins 上创建一个名叫gitlab-token的 token 凭据。
(1)在 gitlab 上生成 token
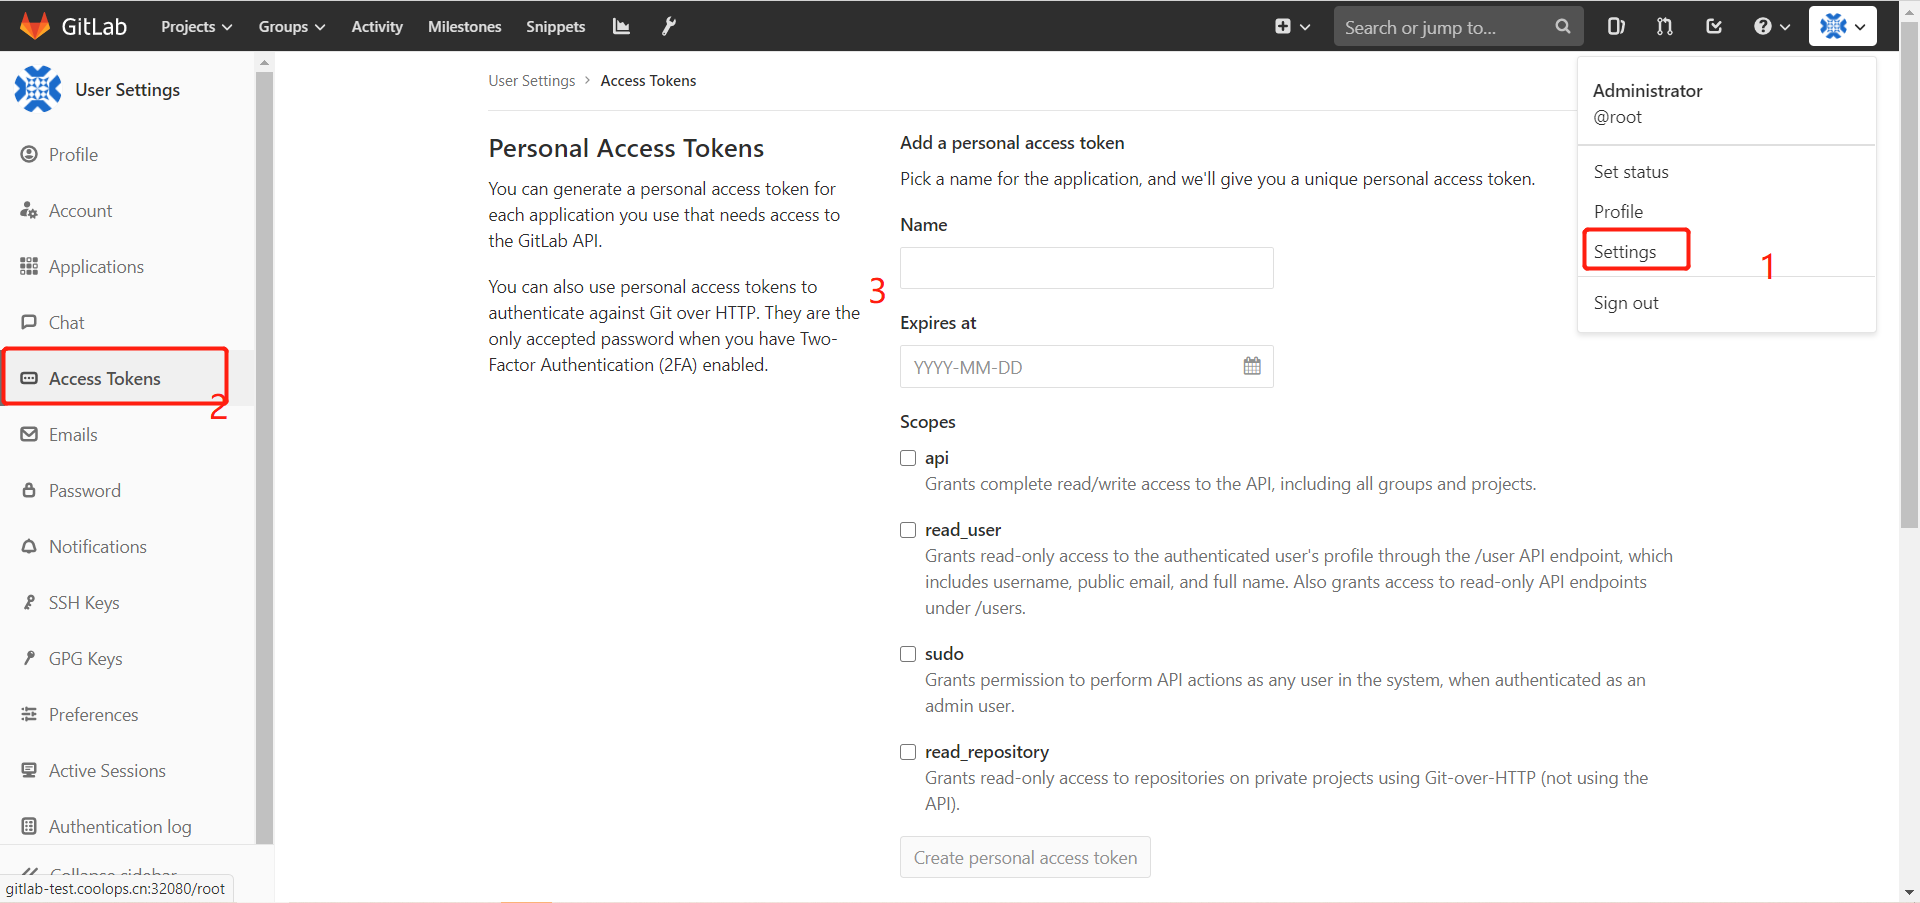
(2)在 Jenkins 上创建凭据
系统管理->凭据管理->全局凭据->添加凭据
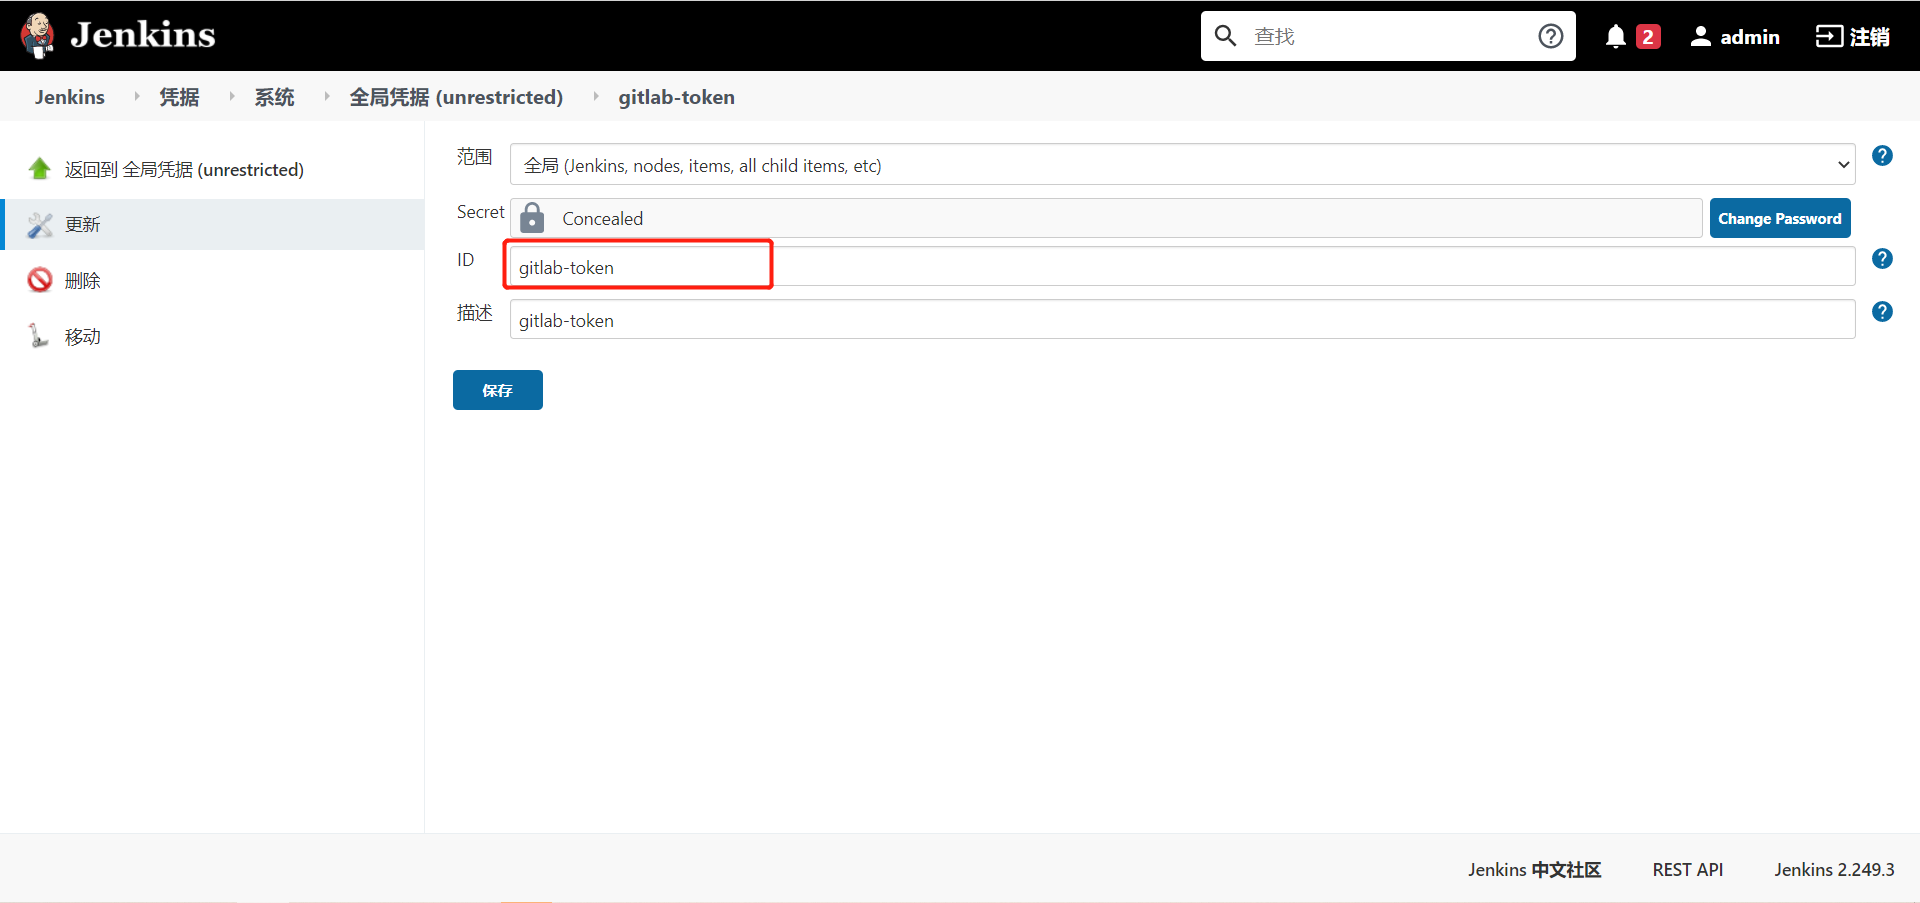
注意这个 ID,要和 gitlab.groovy 中的 ID 一一对应。
# 在 argocd 中配置项目
可以直接在 UI 上配置项目,我这里采用的是 YAML 清单的方式,如下:
rollout-simple-java.yaml
apiVersion: argoproj.io/v1alpha1
kind: Application
metadata:
  name: "rollout-simple-java"
  namespace: argocd
spec:
  destination:
    namespace: "dev"
    server: "https://kubernetes.default.svc"
  source:
    path: "rollout-simple-java/"
    repoURL: "http://172.17.100.135:32080/root/devops-cd.git"
    targetRevision: HEAD
  project: "default"
  syncPolicy:
    automated: {}
2
3
4
5
6
7
8
9
10
11
12
13
14
15
16
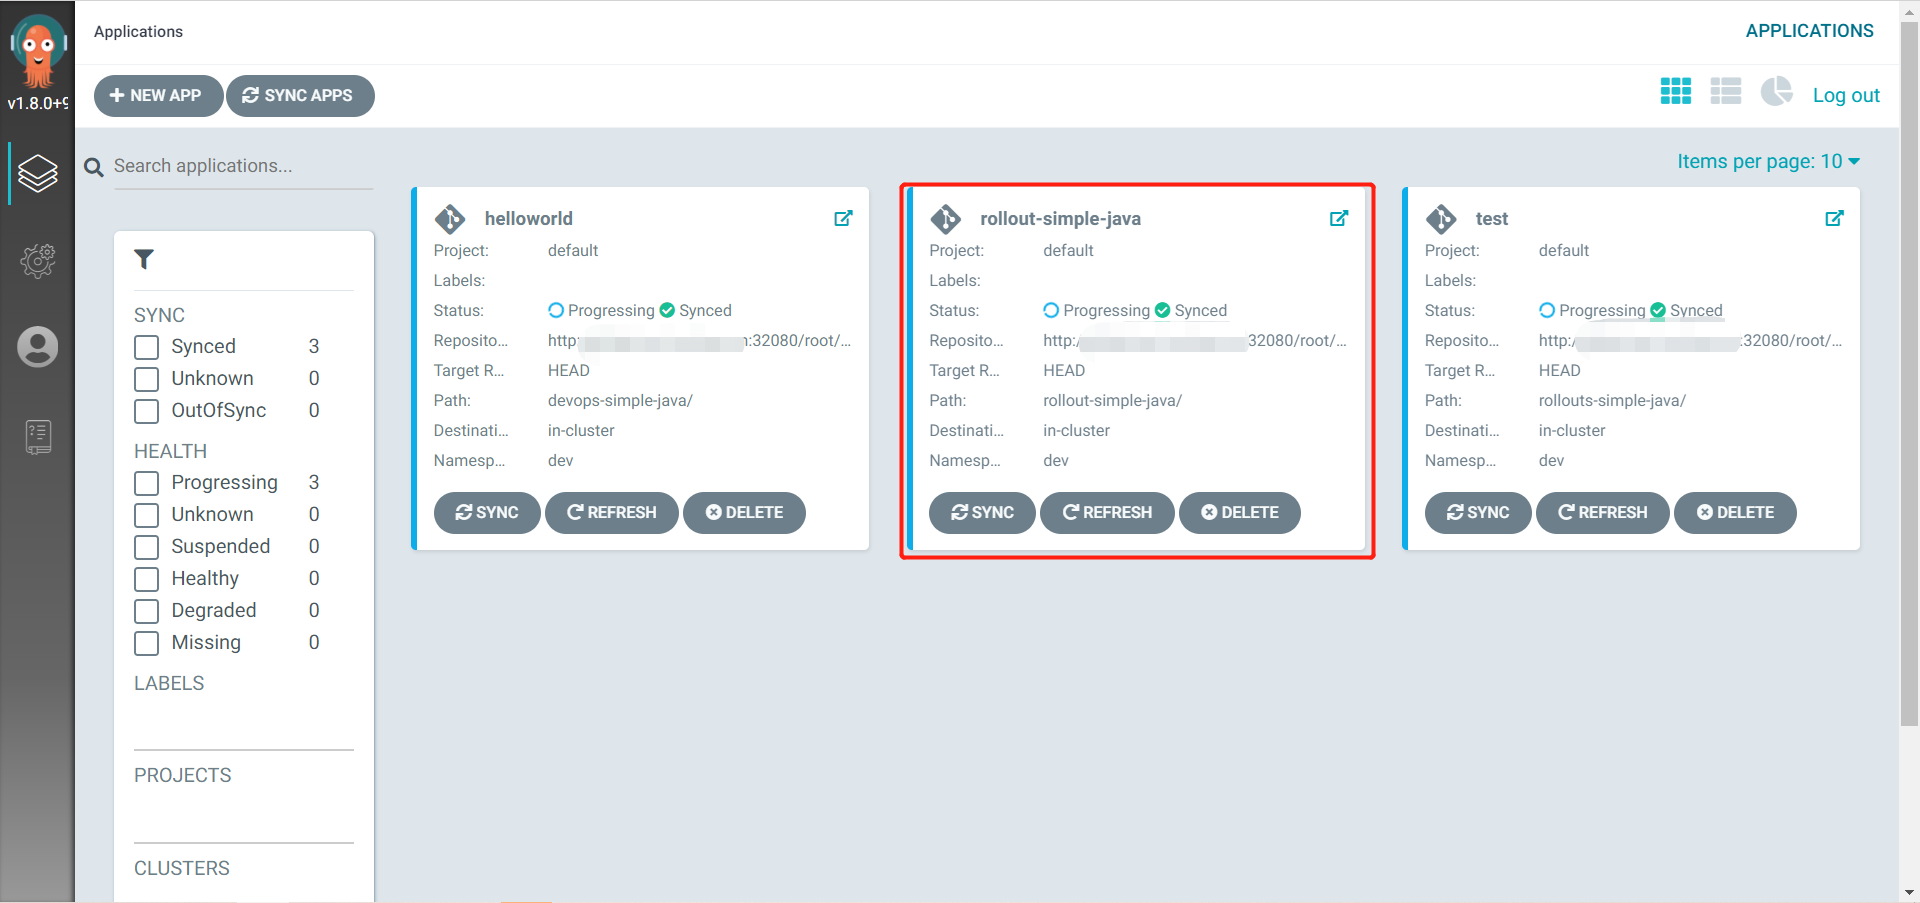
创建之后可以在 UI 界面看到新建的应用了。
# 在 Jenkins 上配置项目
(1)在 shareLibrary 上创建如下 Jenkinsfile
def labels = "slave-${UUID.randomUUID().toString()}"
// 引用共享库
@Library("jenkins_shareLibrary")
// 应用共享库中的方法
def tools = new org.devops.tools()
def sonarapi = new org.devops.sonarAPI()
def sendEmail = new org.devops.sendEmail()
def build = new org.devops.build()
def sonar = new org.devops.sonarqube()
// 前端传来的变量
def gitBranch = env.branch
def gitUrl = env.git_url
def buildShell = env.build_shell
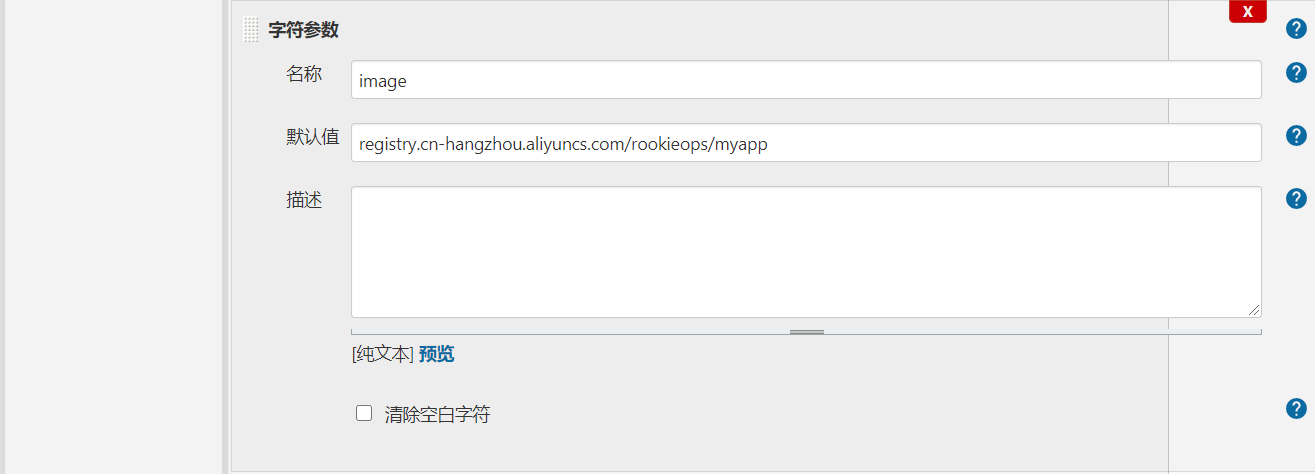
def image = env.image
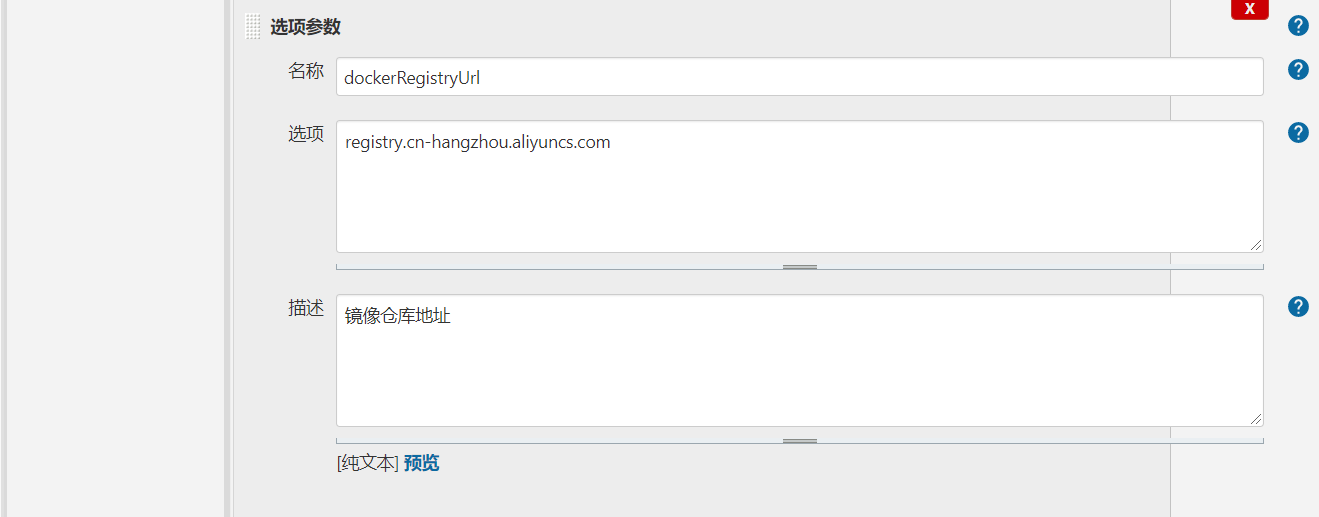
def dockerRegistryUrl = env.dockerRegistryUrl
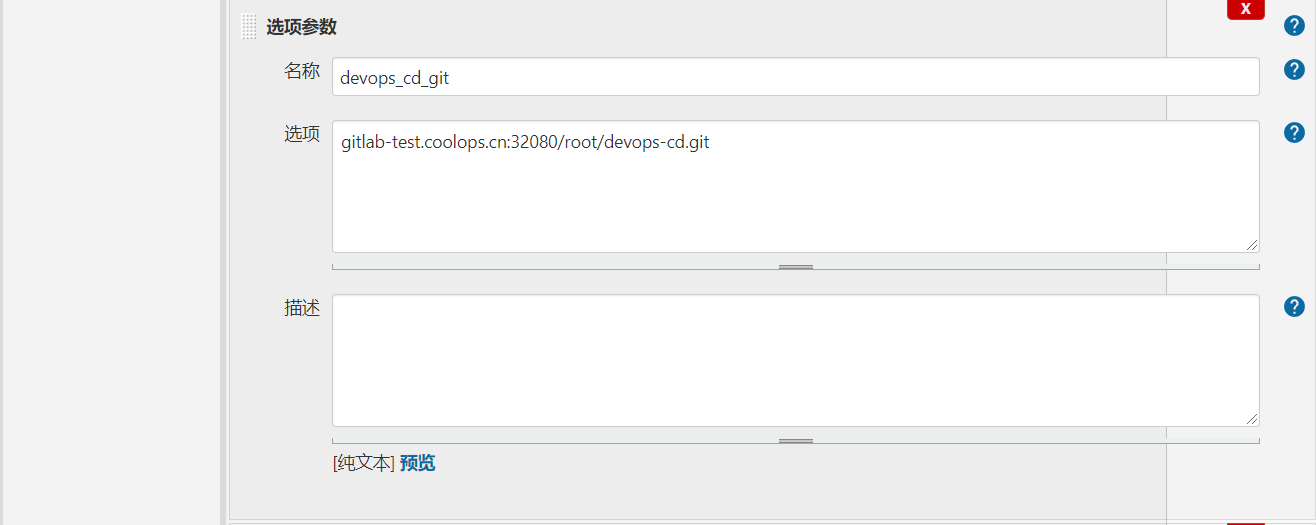
def devops_cd_git = env.devops_cd_git
def repo_name = env.repo_name
def gitlab = new org.devops.gitlab()
def deploy = new org.devops.deploy()
// 固定变量
// def SonarServer = "http://sonar.devops.svc.cluster.local:9000/api"
// def dockerRegistryUrl = "registry.cn-hangzhou.aliyuncs.com"
def isUpdate = ''
pipeline {
agent {
kubernetes {
label labels
yaml """
apiVersion: v1
kind: Pod
metadata:
labels:
some-label: some-label-value
spec:
volumes:
- name: docker-sock
hostPath:
path: /var/run/docker.sock
type: ''
- name: maven-cache
persistentVolumeClaim:
claimName: maven-cache-pvc
containers:
- name: jnlp
image: registry.cn-hangzhou.aliyuncs.com/rookieops/inbound-agent:4.3-4
- name: maven
image: registry.cn-hangzhou.aliyuncs.com/rookieops/maven:3.5.0-alpine
command:
- cat
tty: true
volumeMounts:
- name: maven-cache
mountPath: /root/.m2
- name: docker
image: registry.cn-hangzhou.aliyuncs.com/rookieops/docker:19.03.11
command:
- cat
tty: true
volumeMounts:
- name: docker-sock
mountPath: /var/run/docker.sock
- name: sonar-scanner
image: registry.cn-hangzhou.aliyuncs.com/rookieops/sonar-scanner:latest
command:
- cat
tty: true
- name: kustomize
image: registry.cn-hangzhou.aliyuncs.com/rookieops/kustomize:v3.8.1
command:
- cat
tty: true
"""
}
}
environment{
auth = 'joker'
}
options {
timestamps() // 日志会有时间
skipDefaultCheckout() // 删除隐式checkout scm语句
disableConcurrentBuilds() //禁止并行
timeout(time:1,unit:'HOURS') //设置流水线超时时间
}
stages {
// 拉取代码
stage('GetCode') {
steps {
checkout([$class: 'GitSCM', branches: [[name: "${gitBranch}"]],
doGenerateSubmoduleConfigurations: false,
extensions: [],
submoduleCfg: [],
userRemoteConfigs: [[credentialsId: '83d2e934-75c9-48fe-9703-b48e2feff4d8', url: "${gitUrl}"]]])
}
}
// 单元测试和编译打包
stage('Build&Test') {
steps {
container('maven') {
script{
tools.PrintMes("编译打包","blue")
build.DockerBuild("${buildShell}")
}
}
}
}
// 代码扫描
stage('CodeScanner') {
steps {
container('sonar-scanner') {
script {
tools.PrintMes("代码扫描","green")
tools.PrintMes("搜索项目","green")
result = sonarapi.SearchProject("${JOB_NAME}")
println(result)
if (result == "false"){
println("${JOB_NAME}---项目不存在,准备创建项目---> ${JOB_NAME}!")
sonarapi.CreateProject("${JOB_NAME}")
} else {
println("${JOB_NAME}---项目已存在!")
}
tools.PrintMes("代码扫描","green")
sonar.SonarScan("${JOB_NAME}","${JOB_NAME}","src")
sleep 10
tools.PrintMes("获取扫描结果","green")
result = sonarapi.GetProjectStatus("${JOB_NAME}")
println(result)
if (result.toString() == "ERROR"){
toemail.Email("代码质量阈错误!请及时修复!",userEmail)
error " 代码质量阈错误!请及时修复!"
} else {
println(result)
}
}
}
}
}
// 构建镜像
stage('BuildImage') {
steps {
withCredentials([[$class: 'UsernamePasswordMultiBinding',
credentialsId: 'dockerhub',
usernameVariable: 'DOCKER_HUB_USER',
passwordVariable: 'DOCKER_HUB_PASSWORD']]) {
container('docker') {
script{
tools.PrintMes("构建镜像","green")
imageTag = tools.createVersion()
sh """
docker login ${dockerRegistryUrl} -u ${DOCKER_HUB_USER} -p ${DOCKER_HUB_PASSWORD}
docker build -t ${image}:${imageTag} .
docker push ${image}:${imageTag}
docker rmi ${image}:${imageTag}
"""
}
}
}
}
}
// 部署
stage('Deploy') {
steps {
withCredentials([[$class: 'UsernamePasswordMultiBinding',
credentialsId: 'ci-devops',
usernameVariable: 'DEVOPS_USER',
passwordVariable: 'DEVOPS_PASSWORD']]){
container('kustomize') {
script{
APP_DIR="${JOB_NAME}".split("_")[0]
sh """
git remote set-url origin http://${DEVOPS_USER}:${DEVOPS_PASSWORD}@${devops_cd_git}
git config --global user.name "Administrator"
git config --global user.email "coolops@163.com"
git clone http://${DEVOPS_USER}:${DEVOPS_PASSWORD}@${devops_cd_git} /opt/devops-cd
cd /opt/devops-cd
git pull
cd /opt/devops-cd/${APP_DIR}
kustomize edit set image ${image}:${imageTag}
git commit -am 'image update'
git push origin master
"""
}
}
}
}
}
// 接口测试
stage('InterfaceTest') {
steps{
sh 'echo "接口测试"'
}
}
// 继续更新或回滚
stage('UpdateOrRollBack') {
input {
message 'Should we continue?'
ok 'Yes, we should.'
submitter 'alice,bob'
parameters {
string(name: 'input', defaultValue: 'yes', description: 'continue update?')
}
}
steps {
script {
// 调用更新或者回滚函数
tools.PrintMes("更新或者回滚","green")
// 将input的值赋值给全局变量isUpdate,供下阶段使用
isUpdate = "${input}"
}
}
}
// 如果是继续更新服务,待验证通过后给gitlab代码仓库打tag
stage('TagGitlab') {
steps {
script {
if ("${isUpdate}" == 'yes' && "${gitBranch }" == 'master') {
tools.PrintMes('给仓库打TAG', 'green')
// 获取项目的projectId
repo_id = gitlab.GetProjectID("${repo_name}")
sh "echo ${repo_id}"
// 生产tag,以当前时间为tag
tag_name = "release"+"-"+tools.getTime()
gitlab.TagGitlab("${repo_id}", "${tag_name}", 'master')
}else {
tools.PrintMes('不打TAG', 'red')
}
}
}
}
}
// 构建后的操作
post {
success {
script{
println("success:只有构建成功才会执行")
currentBuild.description += "\n构建成功!"
// deploy.AnsibleDeploy("${deployHosts}","-m ping")
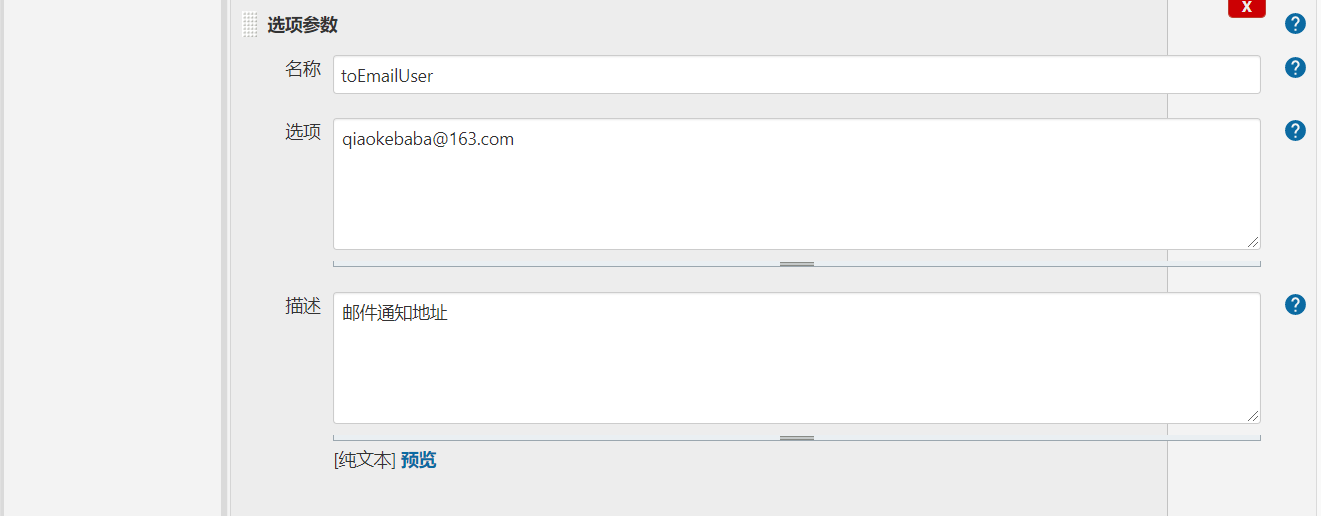
sendEmail.SendEmail("构建成功",toEmailUser)
// dingmes.SendDingTalk("构建成功 ✅")
}
}
failure {
script{
println("failure:只有构建失败才会执行")
currentBuild.description += "\n构建失败!"
sendEmail.SendEmail("构建失败",toEmailUser)
// dingmes.SendDingTalk("构建失败 ❌")
}
}
aborted {
script{
println("aborted:只有取消构建才会执行")
currentBuild.description += "\n构建取消!"
sendEmail.SendEmail("取消构建",toEmailUser)
// dingmes.SendDingTalk("构建失败 ❌","暂停或中断")
}
}
}
}
2
3
4
5
6
7
8
9
10
11
12
13
14
15
16
17
18
19
20
21
22
23
24
25
26
27
28
29
30
31
32
33
34
35
36
37
38
39
40
41
42
43
44
45
46
47
48
49
50
51
52
53
54
55
56
57
58
59
60
61
62
63
64
65
66
67
68
69
70
71
72
73
74
75
76
77
78
79
80
81
82
83
84
85
86
87
88
89
90
91
92
93
94
95
96
97
98
99
100
101
102
103
104
105
106
107
108
109
110
111
112
113
114
115
116
117
118
119
120
121
122
123
124
125
126
127
128
129
130
131
132
133
134
135
136
137
138
139
140
141
142
143
144
145
146
147
148
149
150
151
152
153
154
155
156
157
158
159
160
161
162
163
164
165
166
167
168
169
170
171
172
173
174
175
176
177
178
179
180
181
182
183
184
185
186
187
188
189
190
191
192
193
194
195
196
197
198
199
200
201
202
203
204
205
206
207
208
209
210
211
212
213
214
215
216
217
218
219
220
221
222
223
224
225
226
227
228
229
230
231
232
233
234
235
236
237
238
239
240
241
242
243
244
245
246
247
248
249
250
251
252
253
254
255
256
257
258
259
260
261
262
263
264
265
266
267
268
269
270
271
272
273
274
275
276
Jenkinsfile 和之前的大同小异,只是增加了两个 stage。
其中UpdateOrRollBack这个 stage 只是占了一个坑,并没有具体实现,其思路是:
- 在部署新版本的时候第一次暂停,然后通过 Jenkins 这里的输入决定是否继续
- 如果继续则表示该版本上线没什么问题,继续后面的
TagGitlab - 如果不继续则表示该版本上线有问题,取消本次上线,并将应用回滚至上一版本
- 如果继续则表示该版本上线没什么问题,继续后面的
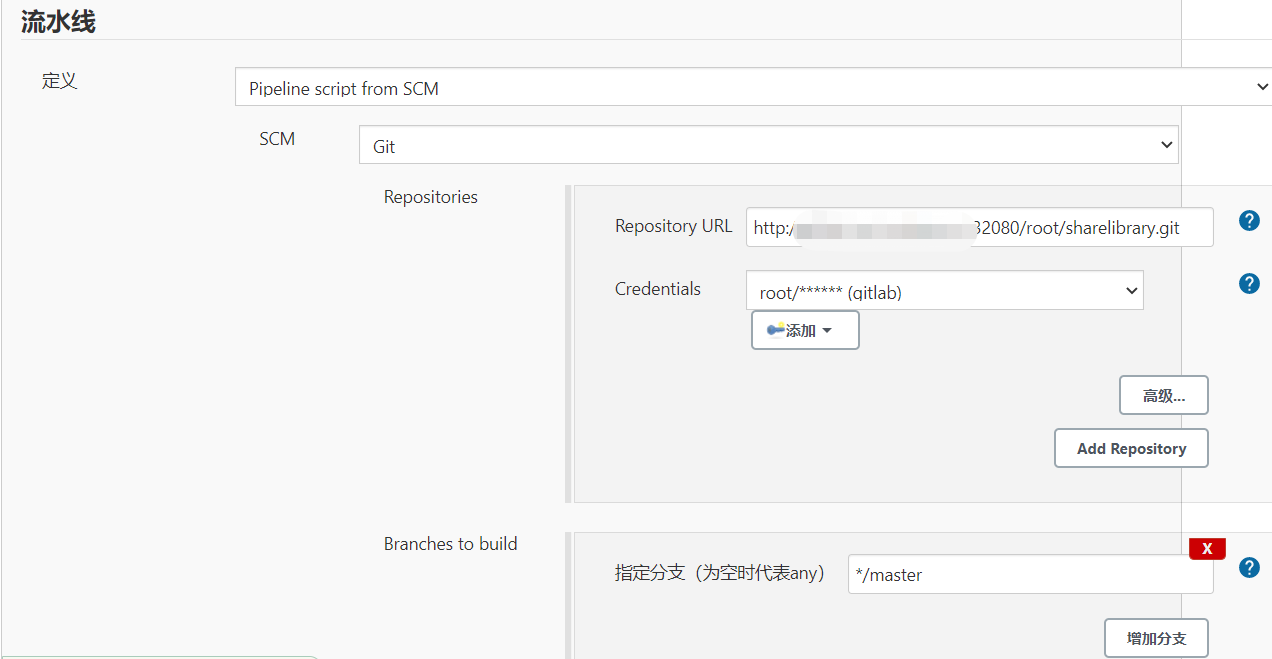
(2)、在 Jenkins 上配置项目
注意项目名字的前缀和 YAML 清单所在的文件夹名一致
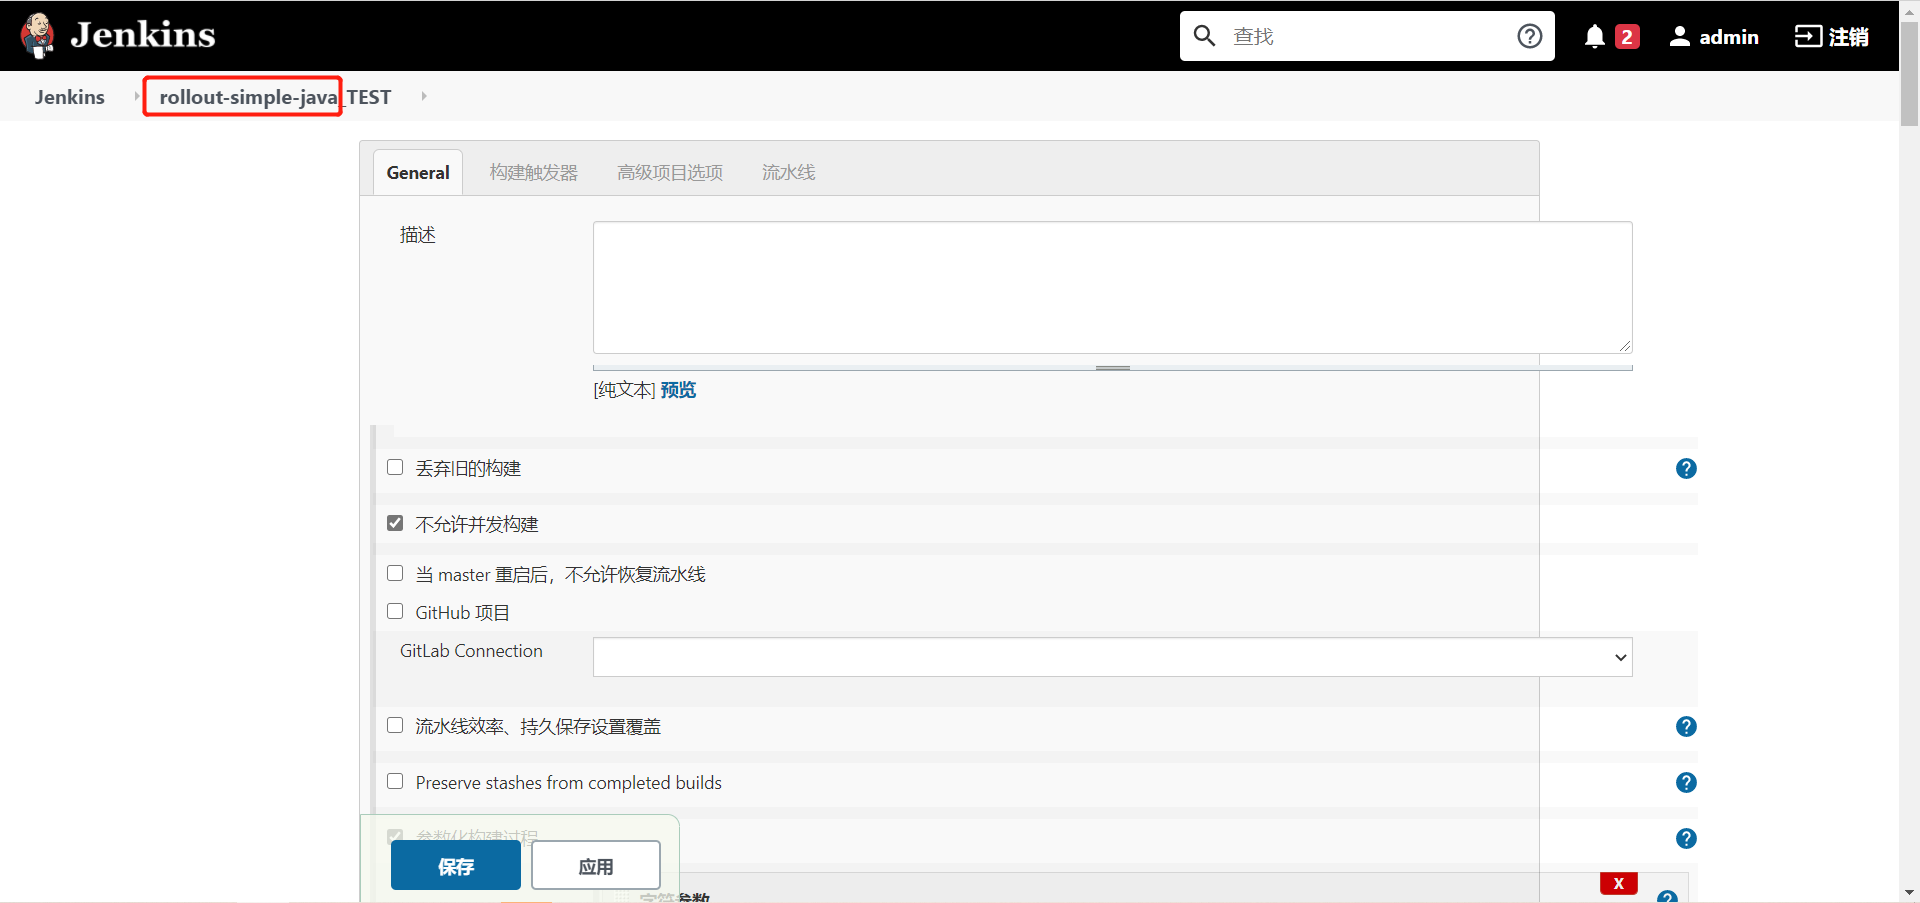
然后添加几个参数。
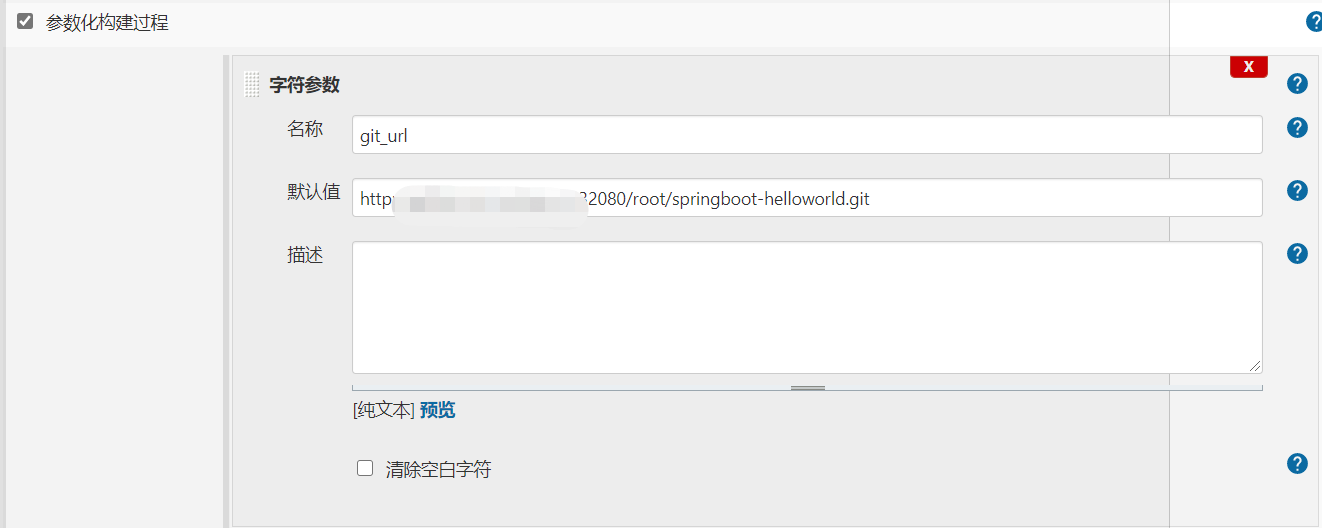
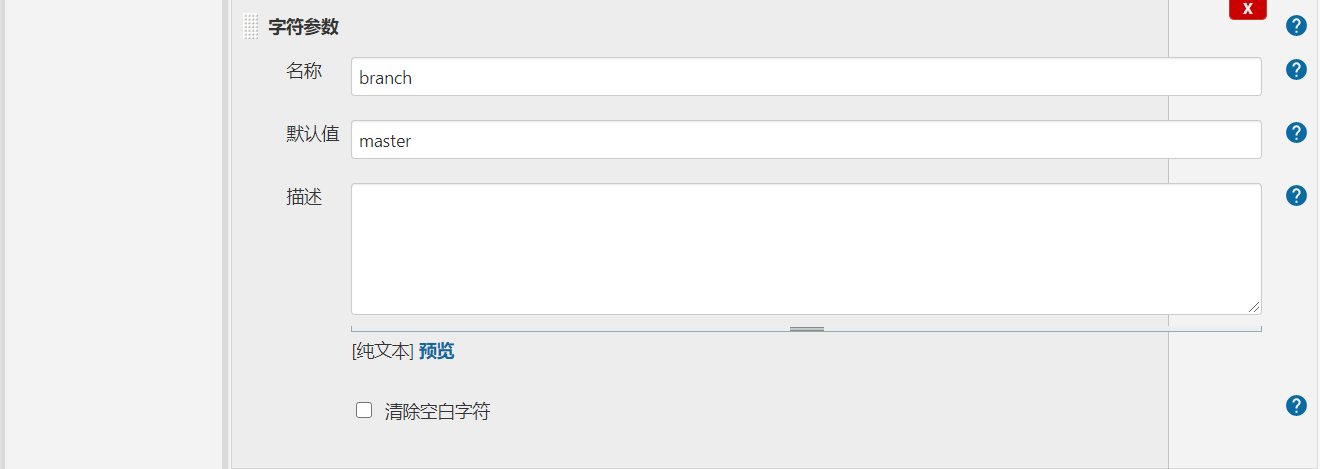
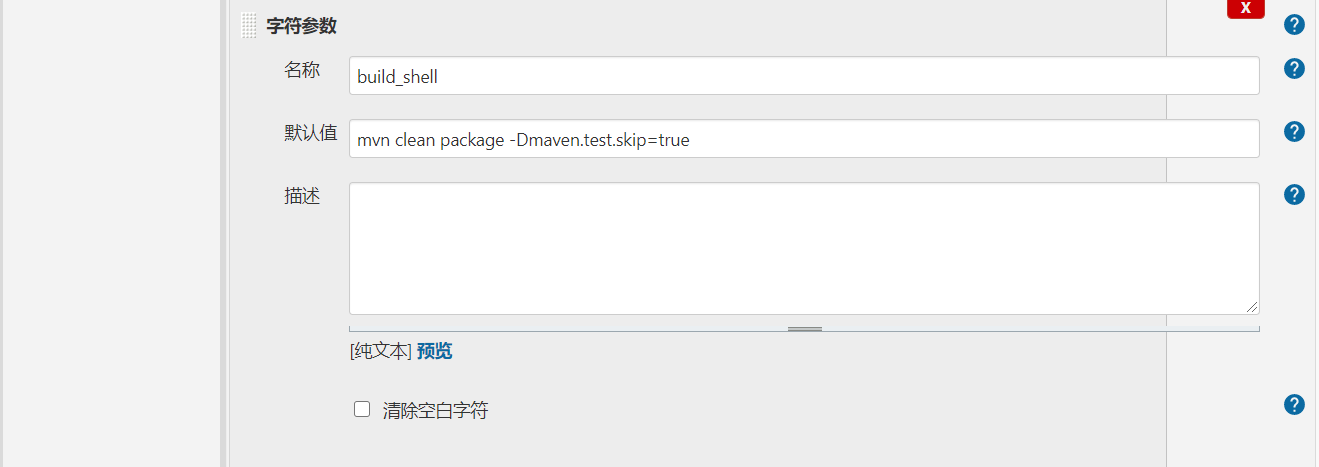
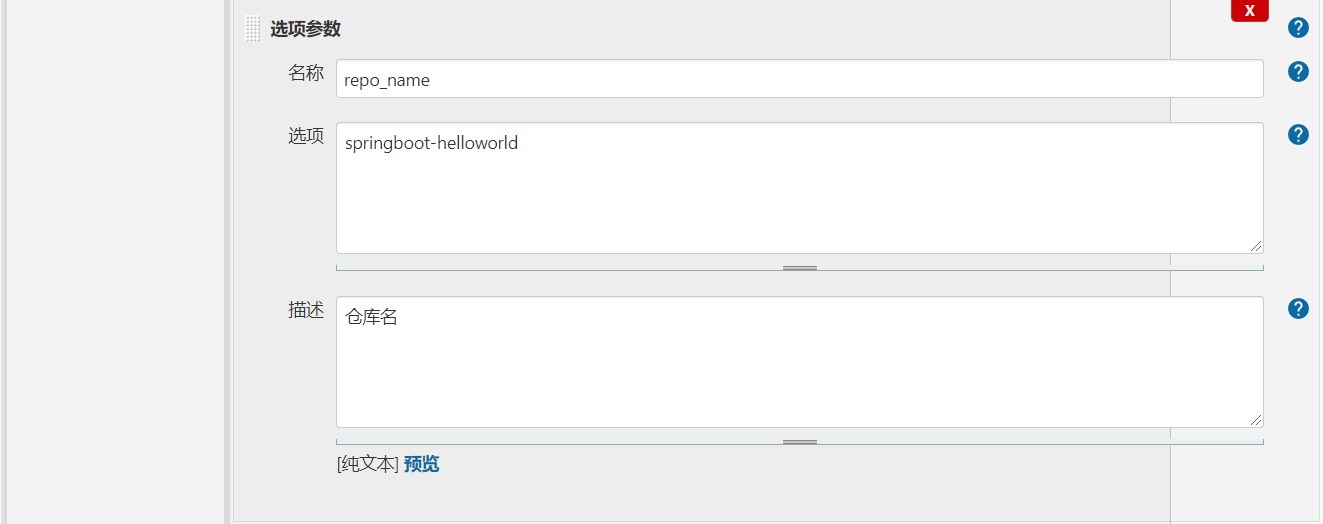
配置流水线
# 发布应用
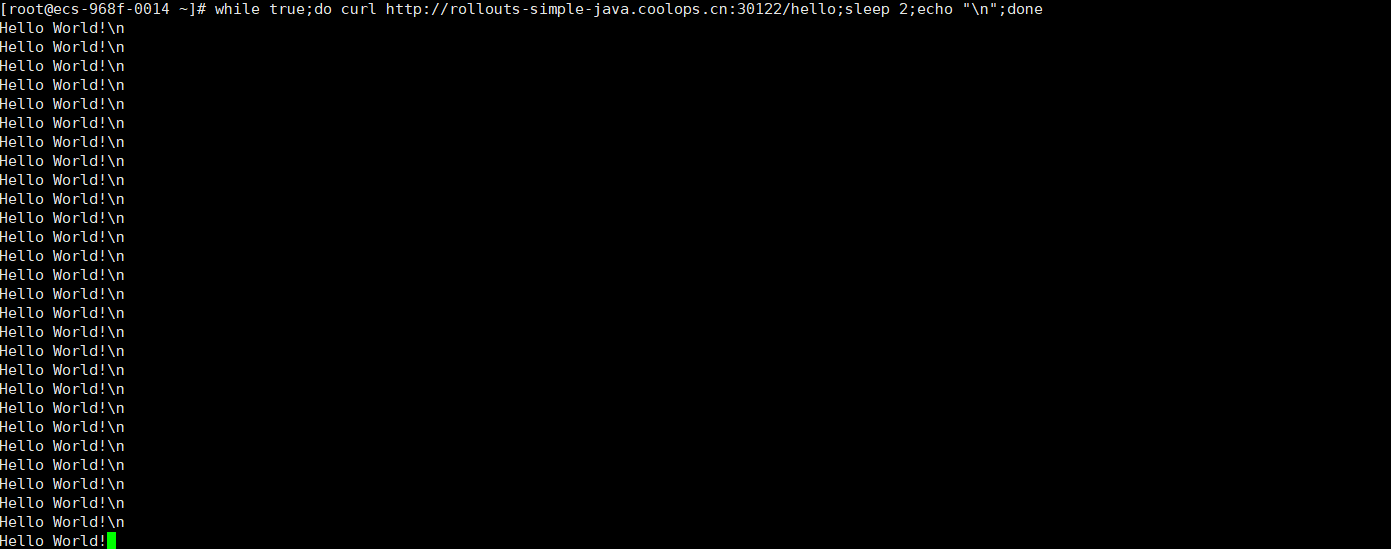
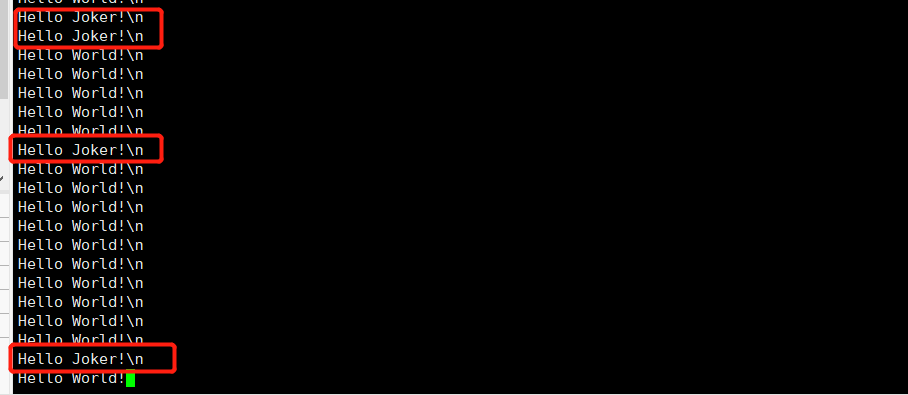
(1)打开一个终端,输入以下命令,让其一直 curl 页面
while true;do curl http://rollouts-simple-java.coolops.cn:30122/hello;sleep 2;echo "\n";done
输出如下:
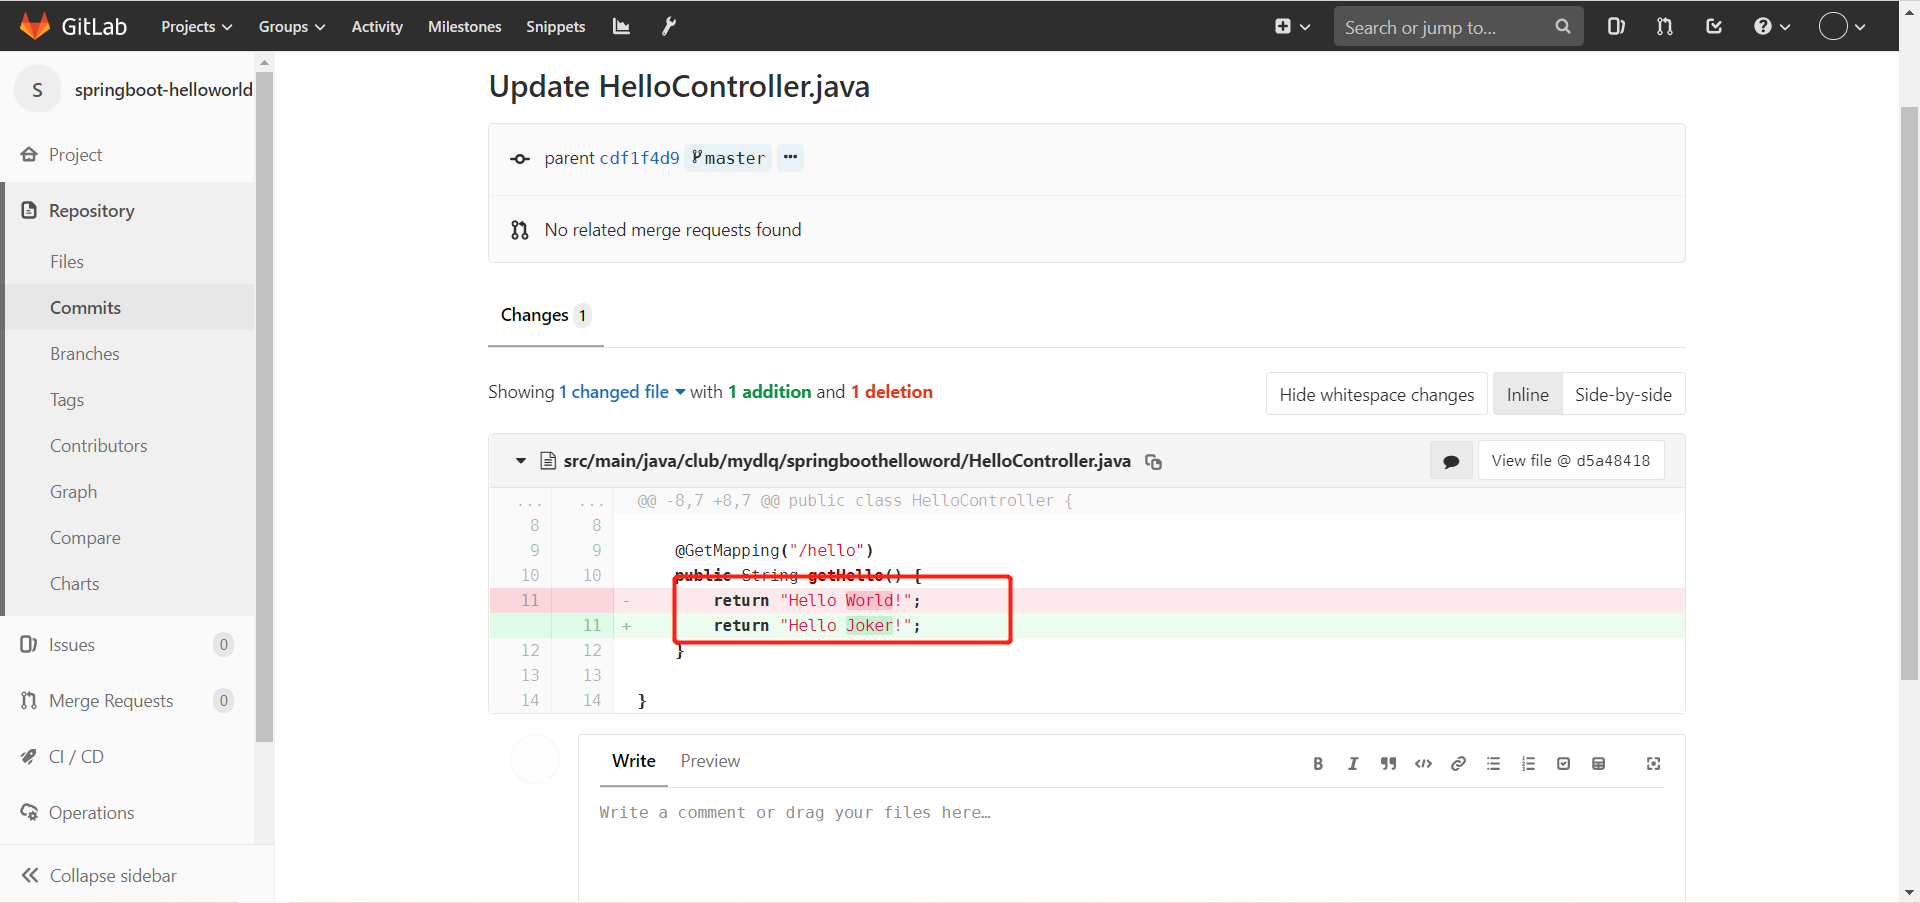
(2)修改源代码,进行发布,我将源码中的 Hello world 改成 hello joker,如下
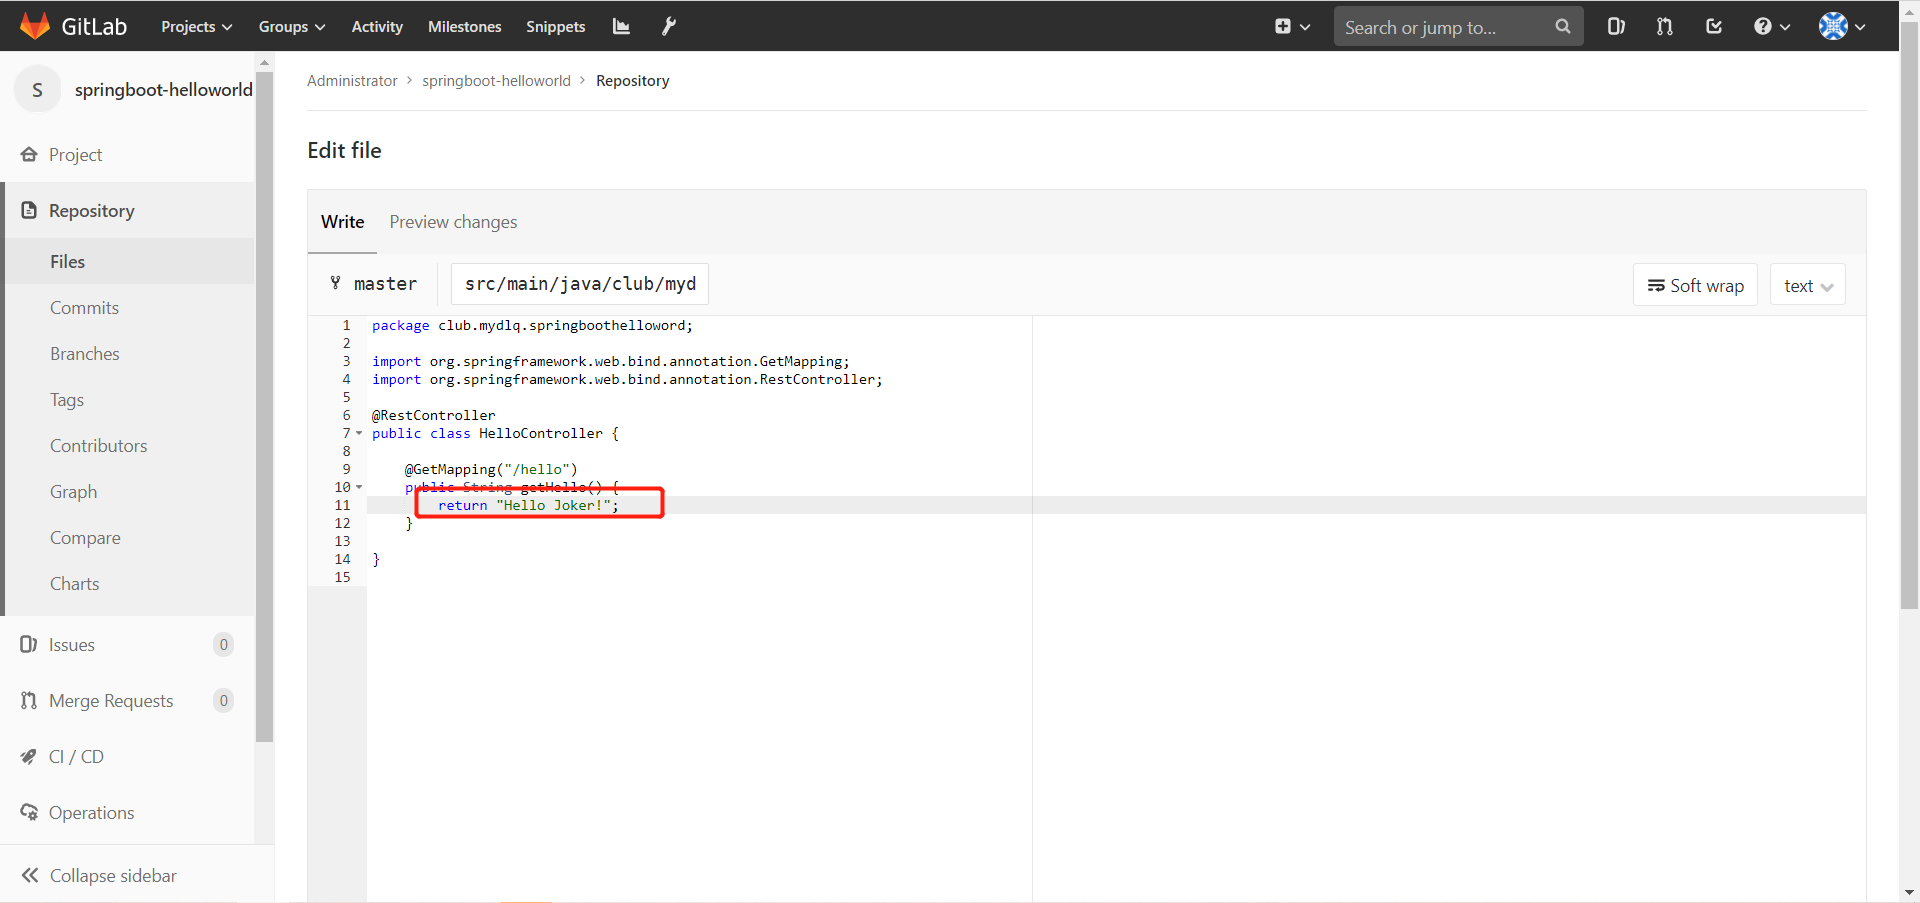
然后提交到代码库。
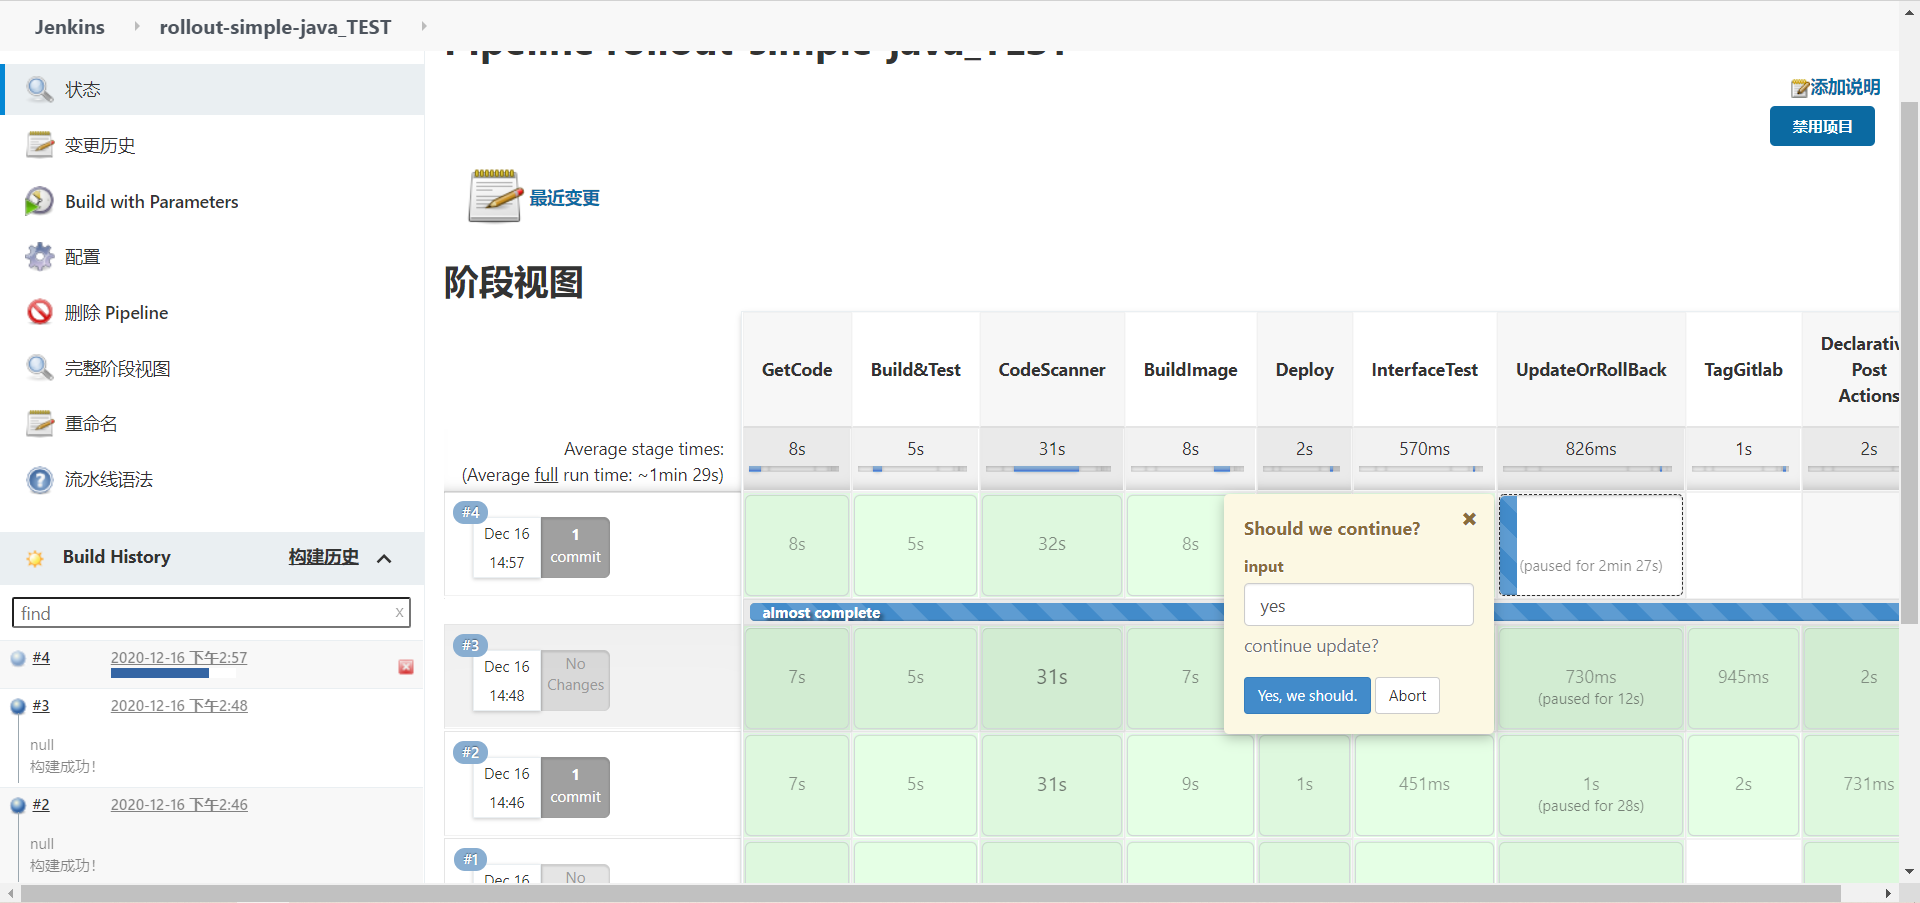
(3)、在 Jenkins 上进行 build
然后可以在终端上看到少量的流量访问到了 hello joker,如下
(4)、点击继续部署
上面能正常访问到 hello joker,表示测试通过,在 Jenkins 流水线上点击继续部署,对当前代码仓库进行打 tag
待其执行完后,在 gitlab 的代码仓库中可以看到新的 tag,如下
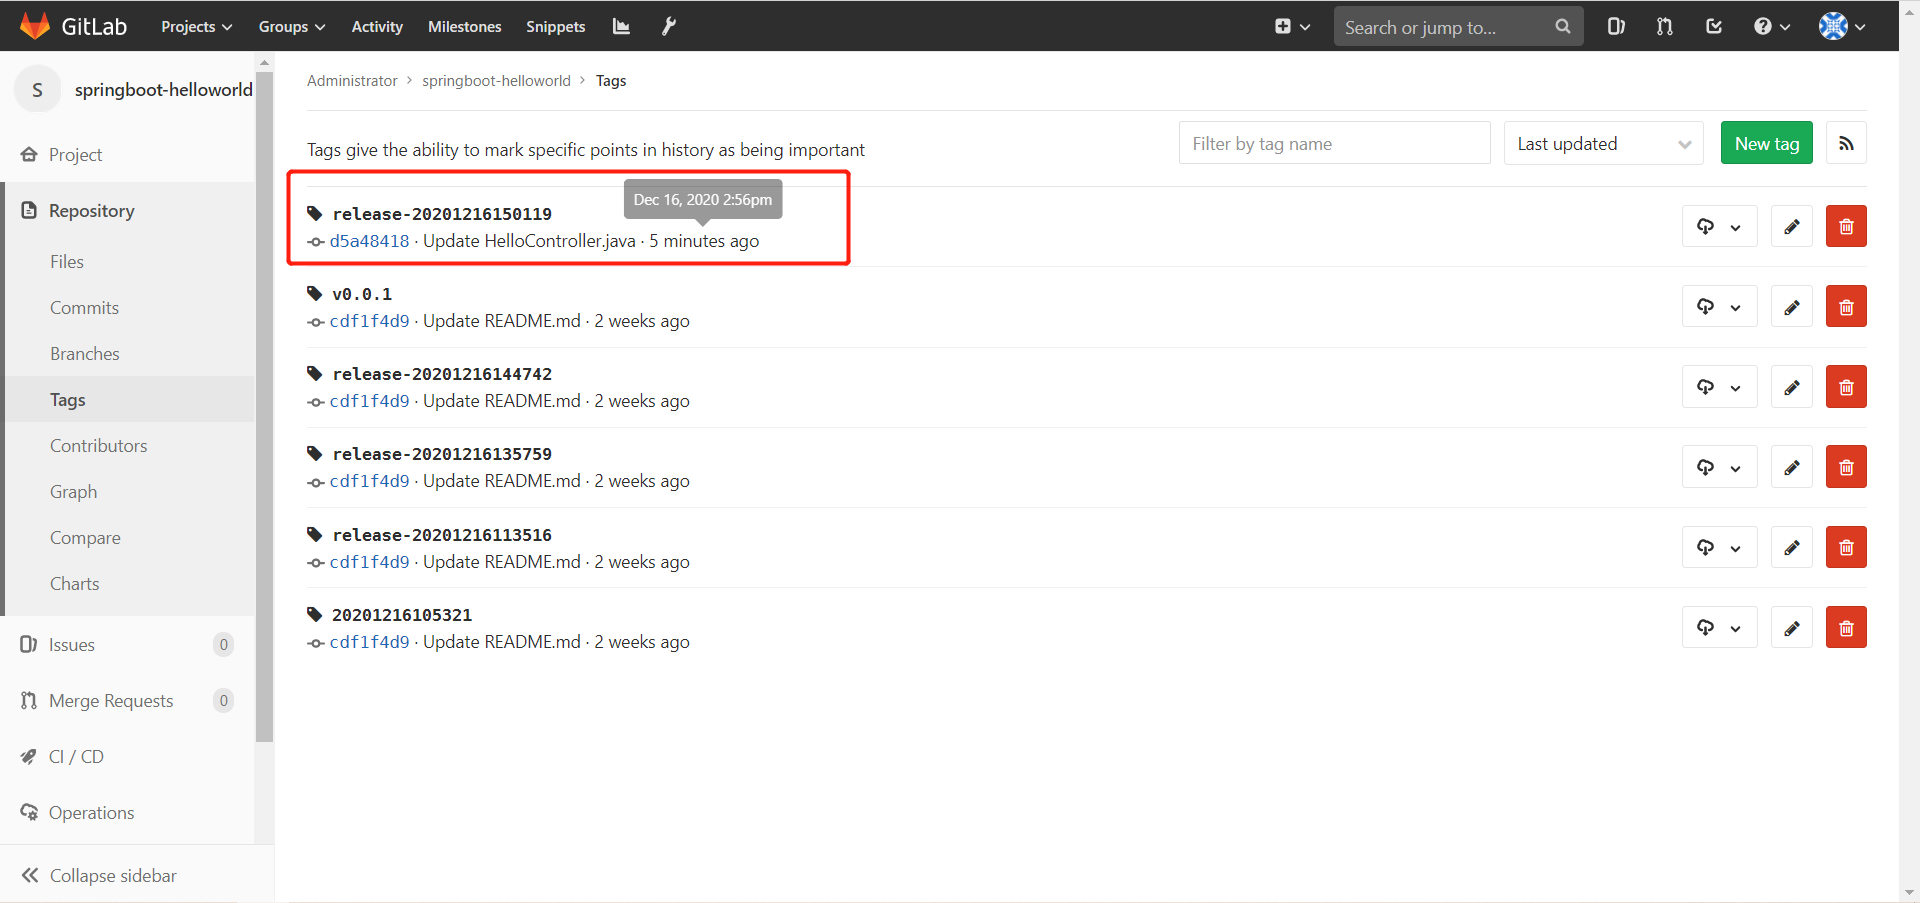
点击进去可以看到更改的内容。
后面金丝雀发布完成后,可以看到终端输出如下:

到此整个过程完成。
# 写在最后
argo 全家桶还是非常不错,目前我使用了 argocd 和 argo rollouts,初步使用来看运行都比较稳定,不过 argocd 有几个需要注意的点:
- 建议对创建在 argocd 上的每个应用的 yaml 文件进行备份,因为 argocd 本身是无状态的,保不齐你啥时候就将其清空了。
- argocd-cm 这个 configmap 每次修改过后就会清空部署在上面的应用,不过对我应用本身不受影响,这也是为什么要备份的原因,方便重建
- argo rollouts 对 ingress 的支持有限,目前只支持 ingress 和 alb
